Prepping- Quitting your addictions

If you haven’t figured it out, I’m a prepper. Yup I admit it, I love preparing for things that might go wrong. I don’t believe in the zombie apocalyptic theory, but I do believe that I would rather be prepared than to be shit out of luck, if something happens. God even says in the bible to prepare and to store food and water for those times it might not be available. I practice what I learn from seed saving, growing food, canning, dehydrating, practice shooting, getting in shape and quitting all addictions. I’m going to focus on why quitting all your addictions is very important as a prepper.

c1eaf89aae4bf77a37ebdea8fc9cb7f9
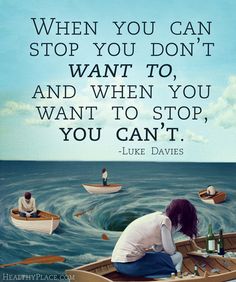
If your addicted to sugar, coffee, soda, or cigarettes you might want to quit! If SHTF and suddenly there is no more stores, are you going to stockpile cigarettes, sugar, soda or coffee? For our house hold, we did for a year. Then realized why do I need to stockpile coffee which is a “luxury” item. It is not needed to survive. When I didn’t drink coffee I would be a real “B” and I wouldn’t want to do anything the rest of the day or at least until I got my coffee. Coffee was my addiction that had me for 15 years. Most people think that its not that bad, and that they can stop anytime. But you don’t know your addicted until you try to stop it. I tried to stop so many times, I would get so sick that I couldn’t leave my couch or bed, Migraine headaches was an understatement. I would want to sleep all day and felt like vomiting by the 3rd day without coffee. That is when I realized, I NEED to stop. It took me several tries and I finally was able to kick that addiction. For most people they have no problems with coffee, but for me it was negatively impacting my overall health.  I had no clue that all these years drinking coffee and having partial epilepsy were linked. Just to clarify, I DON’T pass out and have Grand Mal seizures. I get auras and twitching and feel out of it. So, if I forget who you are, sorry, its a side effect of my health condition… You can also see the side effects in my videos when I seem lost for words and scatter brained. It takes a long time to edit those videos where I’m having a hard day finding words. But, back to what I was originally talking about. I do enjoy a decaf cup of coffee a few times a year. Plus now that the kids are teens, I allow them to have decaf once in awhile. But for my husband…. I’m starting that stockpile of coffee! But he does not drink anywhere near the amount I used to drink, so the stockpile will be small.

I don’t smoke, so I don’t have to worry about that. But I do LOVE sugar and my diet soda… I can quit diet soda any time. You will only find maybe a months worth of diet soda in my stockpile. I love to make “rum and coke” but instead of coke I use diet caffeine free A&W root beer.  You will find sugar in my stockpile, so I can bake and make other things that need sugar. But you won’t find candy or sugary cereals on my shelves. Not because I don’t like it, but because I have no self control and will need to buy a whole new wardrobe if I did.

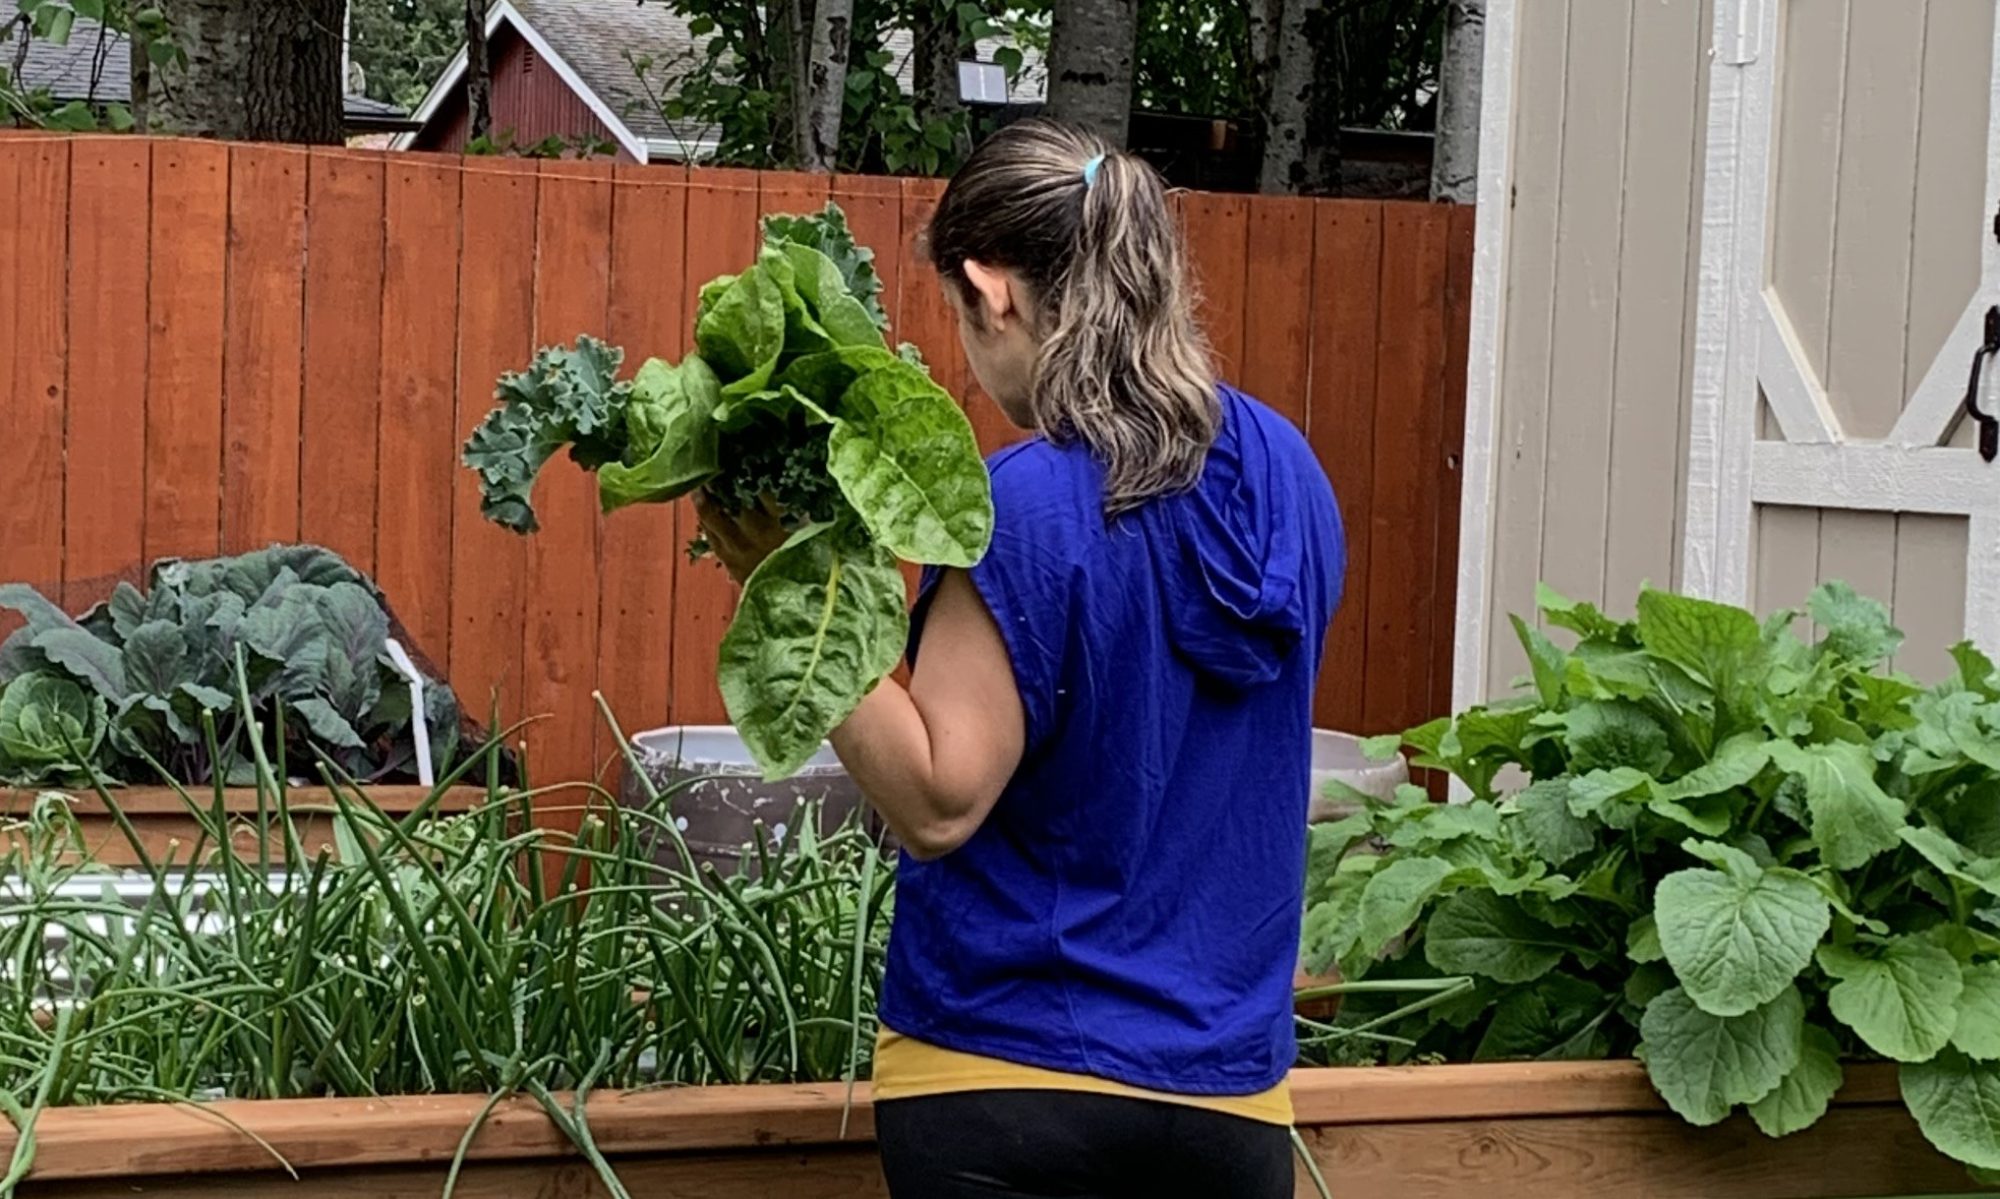
I try to stockpile things that we actually use and that can be easily traded, if needed. The 2020 pandemic shut down really showed me the things that I normally don’t use when I was going to work everyday, verses being stuck at home, aka flour and yeast. Yes, I was in that kitchen making bread and home made pies, like all the other moms during that time.  lol But my 2020 garden was massive and weed free!

Let me know in the comments, how you are prepping. I love to learn from others.

-Melissa


Being prepared for Winter

Ok, you may have notices the weather turning. Before we know it its going to be winter and being prepared is the first thing to do on our list.

Last winter thousands of families were stuck in a harsh winter without electricity. This year is the year your going to make sure your family is prepared.

Winterize your home!

-Install weather stripping, insulation, and storm windows.
-Insulate water lines that run along exterior walls, don’t forget your outdoor faucets!
-Clean out gutters and repair roof leaks, you don’t want to have to fix this when winter is in full swing.

-Check your heating systems.
-Have your heating system serviced professionally to ensure it is clean, working properly and ventilated to the outside.
-Inspect and clean fireplaces and chimneys.
-Install a smoke detector. Test batteries monthly.
-Have a safe alternate heating source (fire places- wood, generator- gas or propane, space heaters(oil)- uses less energy) and alternate fuels available, store gas and propane.
-Prevent carbon monoxide (CO) emergencies.

-Install a CO detector to alert you of the presence of the deadly, odorless, colorless gas. Check batteries regularly. Learn symptoms of CO poisoning: headaches, nausea, and disorientation.

Here is a list of things you’ll need to be Prepared:

1. Energy Source

We need to think about how are we going to keep our families warm and how are we going to prepare meals- this means time to look for a Generator! Every year most people push it off till its to late, but having an alternative energy resource is very important in keeping our families safe and healthy

2. Food Storage

Stock food that needs no cooking or refrigeration and water stored in clean containers. Don’t forget to stock up on pet food.

3.Keep an up-to-date emergency kit, including:

-Battery-operated devices, such as a flashlight, a National Oceanic and Atmospheric Administration (NOAA) Weather Radio, and lamps
-extra batteries
-first-aid kit and extra medicine, you don’t want to be stuck sick in a winter storm without medicine and first aid supplies for your family
-baby items( diapers, Formula, baby food, baby medicine)
-cat litter or sand for icy walkways, and keep a snow shovel out and ready to use.
-glow sticks, kids enjoy using glow sticks for a night light if the power goes out

Leave your comment below what your family does to prepare for winter.


Making Your Own Laundry Soap

This is a modified recipe I found on Budget101.com (Original source) When I first found this recipe and read all the reviews and how much this cost, I was so excited. I didn’t have a traditional blender that they used for their recipe so I tried a few different ways to make it work for our family. I was so surprised on how this worked better than all the different types laundry soap I have bought. My family have sensitive skin that get itchy and bumpy when we use tide or other harsh detergents. Most “free and clear” detergents couldn’t get the smell of 2 little boys out of their clothes and bedding. After using this recipe for over a year, I’m still surprised what else I clean using this recipe. With a small cost of $1.76 for 128 loads this can help your family be more frugal and budget savvy.

home made laundry soapIMG_3850

I’ve used this on:

  • Laundry

  • Pre-Wash soakings

  • Carpet spot cleaner

  • Micro Suede Couch cleaner

  • Dinning Chairs cleaner

This is the original recipe :

1 bar Fels Naptha Laundry Bar

1 cup 20 Mule Team Borax

1 cup Super Washing Soda (not baking soda)

4 Cups of HOT water

To make a large quantity at once you can double or triple the recipe:

2 bar Fels Naptha Laundry Bar

2cup 20 Mule Team Borax

2 cup Super Washing Soda (not baking soda)

8 Cups of HOT water

IMG_3853
Step One

STEP 1: I start by putting the 8 cups of hot water in a large stock pot, bring it to a rapid boil. By using a stock pot this will save you time from clean up if you accidentally over boil the Fels Naptha bars.

STEP 2: While the water is heating up I dice up my 2 Fels Naptha Laundry Bars into pieces that will fit into my favorite Food processor (Ninja kitchen system).

You can also use a cheese grater if you do not have a food processor.

IMG_3858
IMG_3861IMG_3862 Step Two


IMG_3872
Its all melted!
IMG_3866
Needs more time to melt

STEP 3: Add your finely grated Fels Naptha Bars to the 8 cups of boiling water and stir constantly. Reduce heat down to medium to reduce the chance of over boiling. Within 10-15 minutes your Fels Naptha Bar should be all melted. The original recipe say you can melt the bars over low heat, but I do NOT recommend this. This has a strong smell that does not smell good if you accidentally burn it.

IMG_3864
Step Three
IMG_3869
Rolling Boil

It should be a rolling simmer that doesn’t boil over. You will need to keep stirring to make sure the mixture doesn’t foam over the sides.


IMG_3874
Step Four- adding the dry ingredients

STEP 4:After your Fels Naptha Laundry Bar is all melted turn off the stove and add your 2 cups of 20 Mule Team Borax and 2 cups of Super Washing Soda. Mix Well

IMG_3878
Step Five- Add 2 cups of water for every 1 Fels Naptha Bar used


STEP 5: Add 2cups of water for every 1  Fels Naptha Bar used. So in this recipe it will be 4 cups of water mix well and let it sit for 4-5 hours. The mixture will separate and cause crystals to form.


IMG_3917
Step Six- After 4-5 Hours mix separated soap with a immersion blender or hand blender.

STEP 6: Mix well with a immersion blender or a hand mixer. I love using my immersion blender to lower the chances of splattering.


IMG_3915
Step Seven- Find a cute jar and make a label.

STEP 7: Find a cute container to store your laundry soap. We reuse large pickle jars to save money. You can find large plastic storage containers at the dollar store, these can be used for home welcoming gifts too!


Free Printable!

Home Made Labels

 
Made with love labels

 
DIY Laundry Soap Printable

To use, just add 1TBSP to your laundry

I have an HE front load washer so I just add 1 TBSP on top of my dirty clothes.

My mother has a top loading machine so she puts 1 Tablespoon in first before she loads the machine. She has done it before or after loading the machine and she sees no difference. She thinks it dissolves better doing it first when using cold water.

Here is the equipment I used:

When I Realized I Wanted to Grow my own Food

sugar_snap_peas3

IMG_2755
The first flower from our indoor pea plant, waiting for last frost.

Hello,

Last year I came across a You Tube Channel I fell in love with. LDS Prepper  you tube channel has been a real eye opener for me. He talks about more than just gardening, but how to be a prepper. Based on his channel and resources he offers, I decided to start my very own vegetable garden! I’ve never really  gardened before, so the neighbors looked at me like I was crazy when I told them I’m using 75% sawdust and 25% sand for the growing median. I know I can grow our family’s organic vegetables from our back yard and I am determined to prove it to everyone!

I first started growing seeds indoors at the beginning of January. I built my own grow lights based on a few ideas from you tube videos . They cost me around $30-$40 each (The “>light bulbs cost more then the set up), which is a huge savings compared to the store bought ones, which can run from $50 – $600 on amazon. I also invested in several seed starting “>cell packs with “>cell trays and good “>organic potting soil.

If I wanted to be a true self sufficient organic Gardener, I needed to find “>Non-GMO heirloom seeds. I couldn’t find it in stores, nor did I waste my time driving around looking. Amazon.com is my life saver, it saves me time and gas, plus I get to read all the Good and Bad reviews(my favorite part). Between the Lowes hardware store and Amazon.com I was set to start growing!

Many people say that they have purchased the Non-GMO heirloom seed banks just in case something happens to our food supply in the future, but it leaves me wondering why wait?

Resources:

-You can buy the Mittleider course book: click here

-Micro-Nutrient Mix:Click here

Garden doctor book series: Click here