
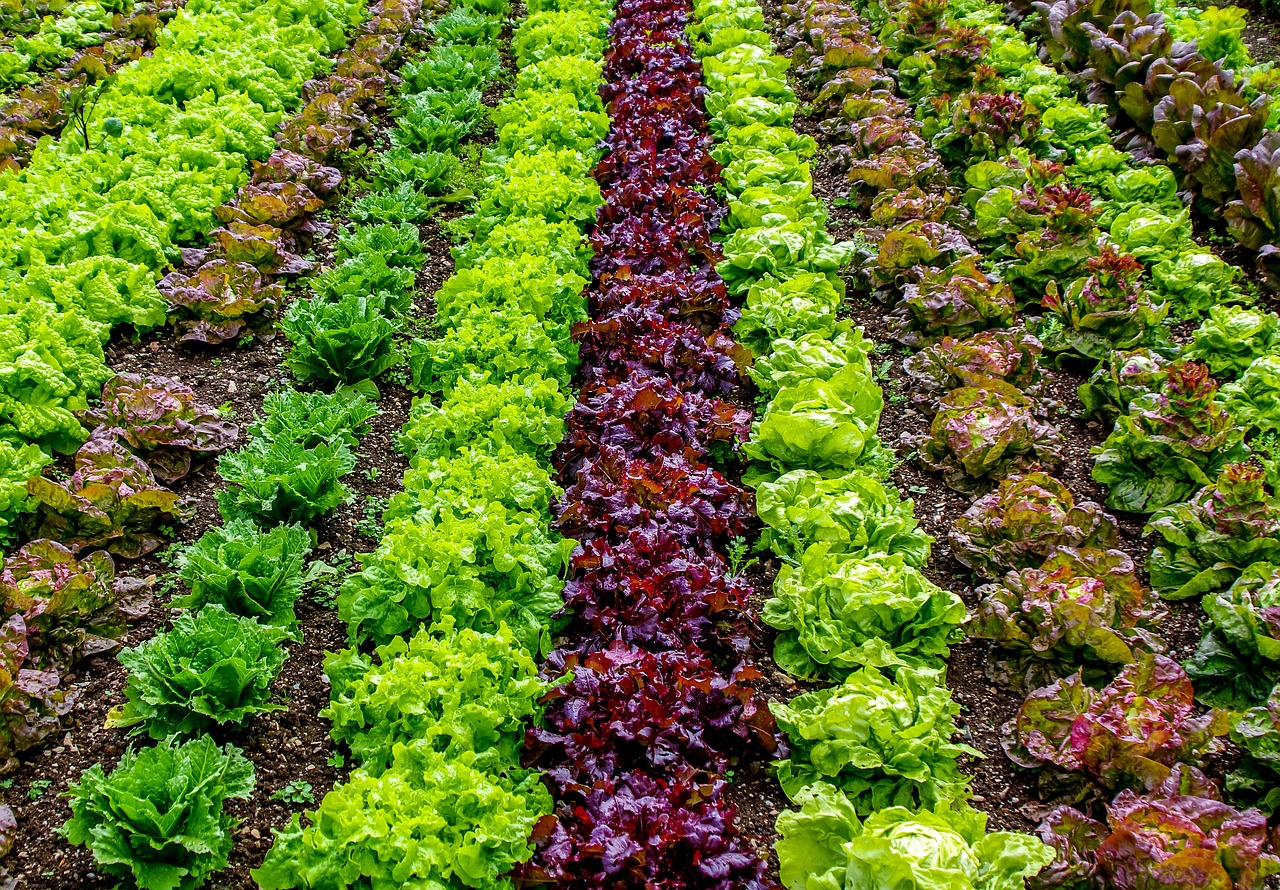
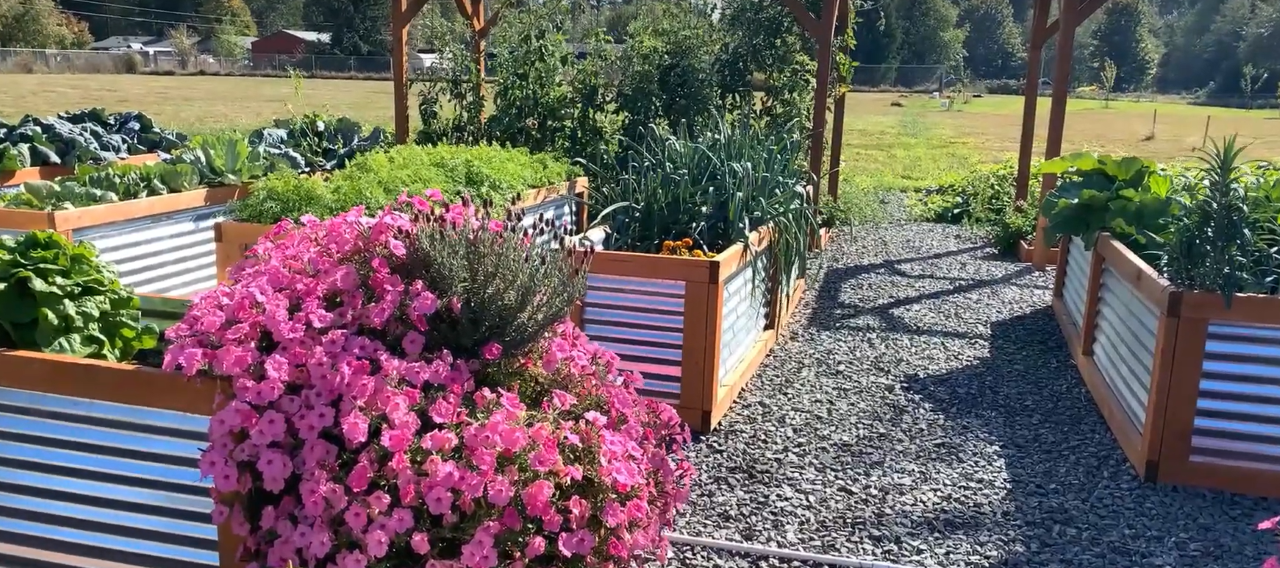
Here is a list of companion plant pairing you may want to consider and why:
Basil repels moths that lay tomato hornworm eggs and will repel thrips. Basil is a good plant to attract pollinators like bees. Even though tomatoes self-pollinate for the most part, this will improve the tomatoes taste and overall health. I personally don’t deal with these pests in my own garden but I know so many others do.

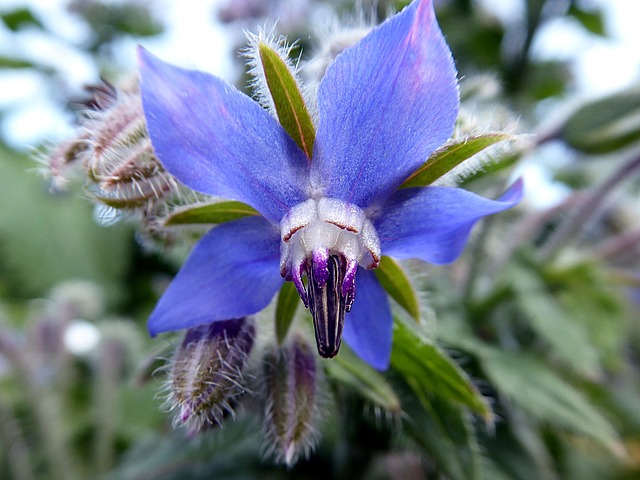
Borage can be paired with strawberries to enhance their vigor and flavor. Pair Borage with tomatoes to attract pollinators.
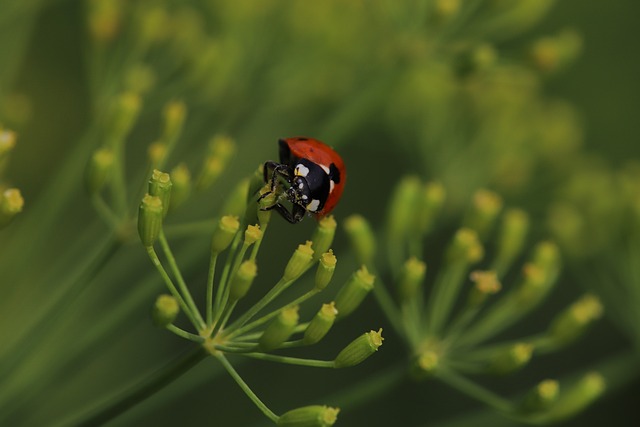
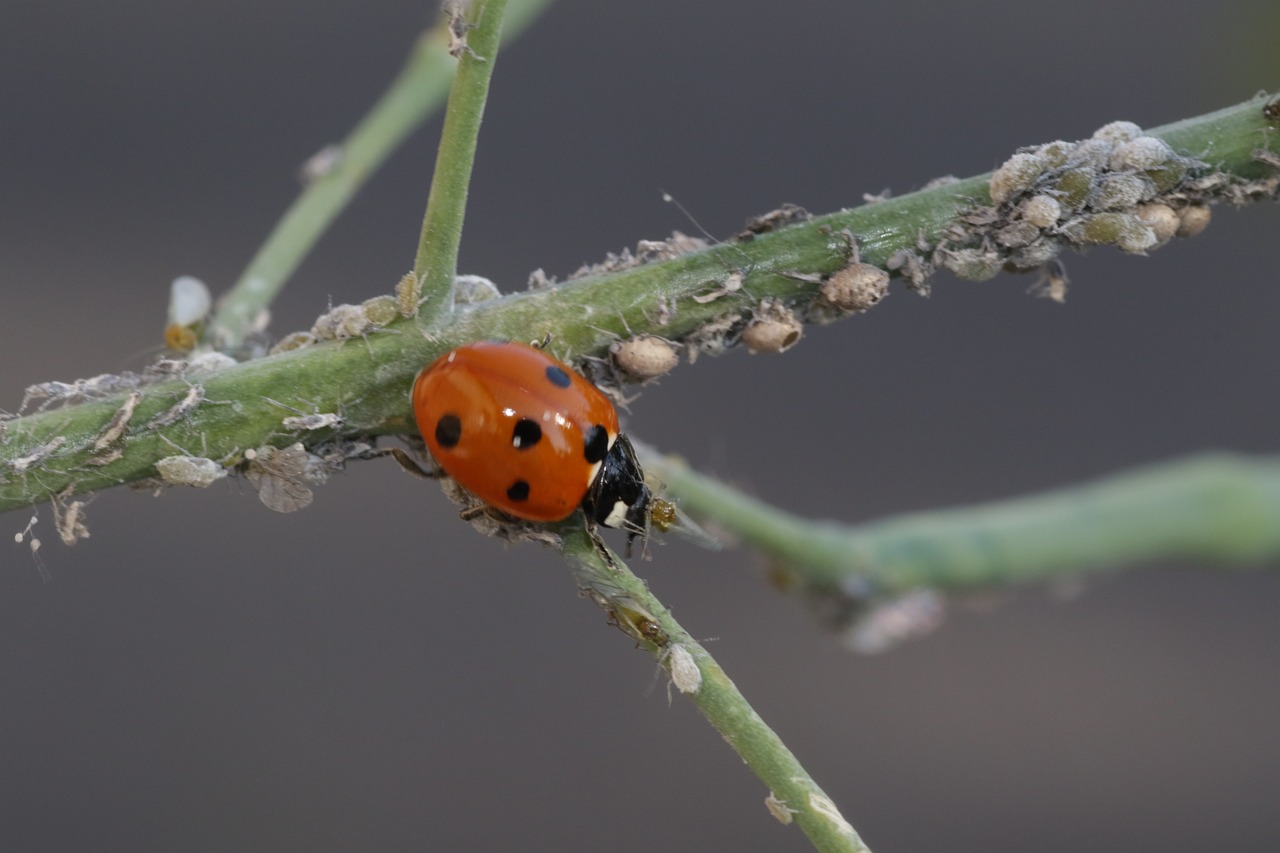
Dill is another great plant that will attract ladybugs to help deal with aphids and spider mites. I deal with spider mites every year, but some years are better than others.
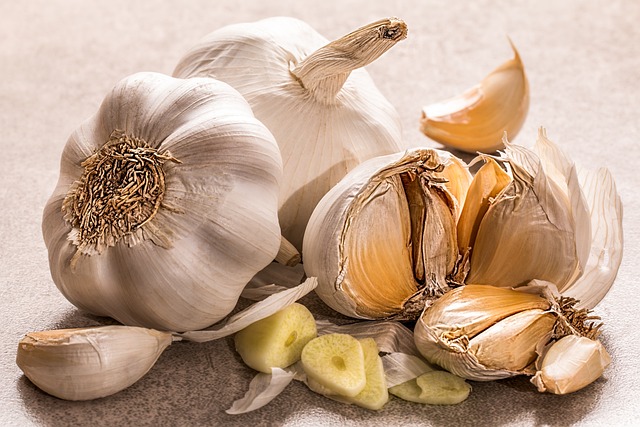
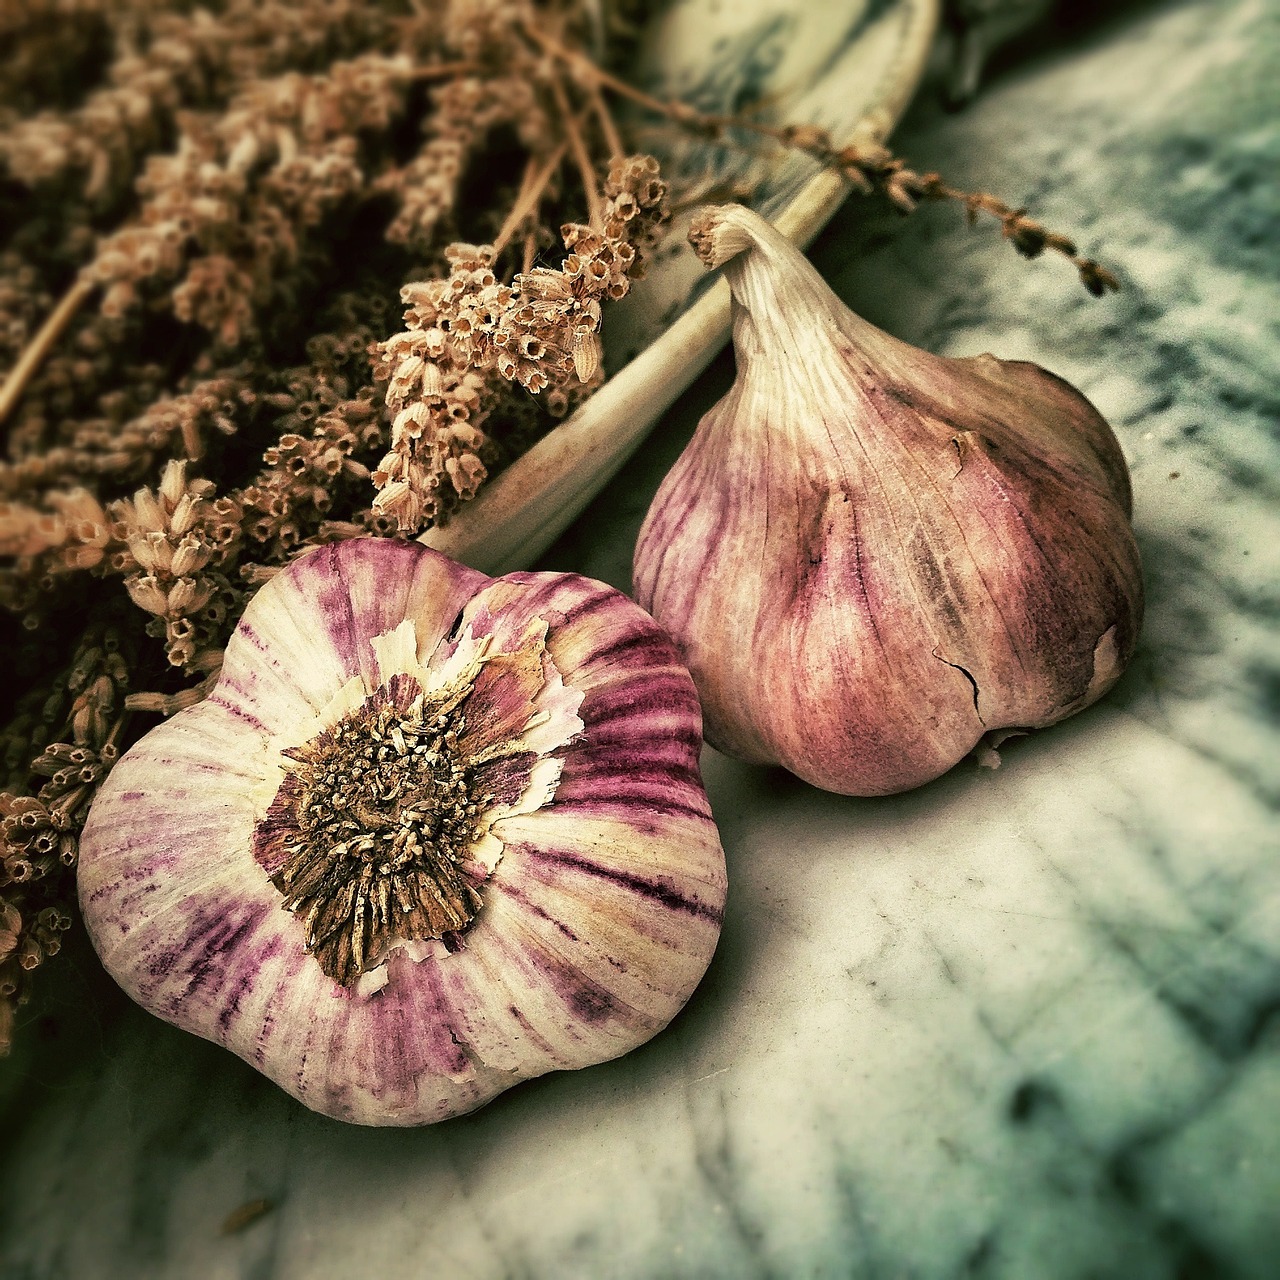
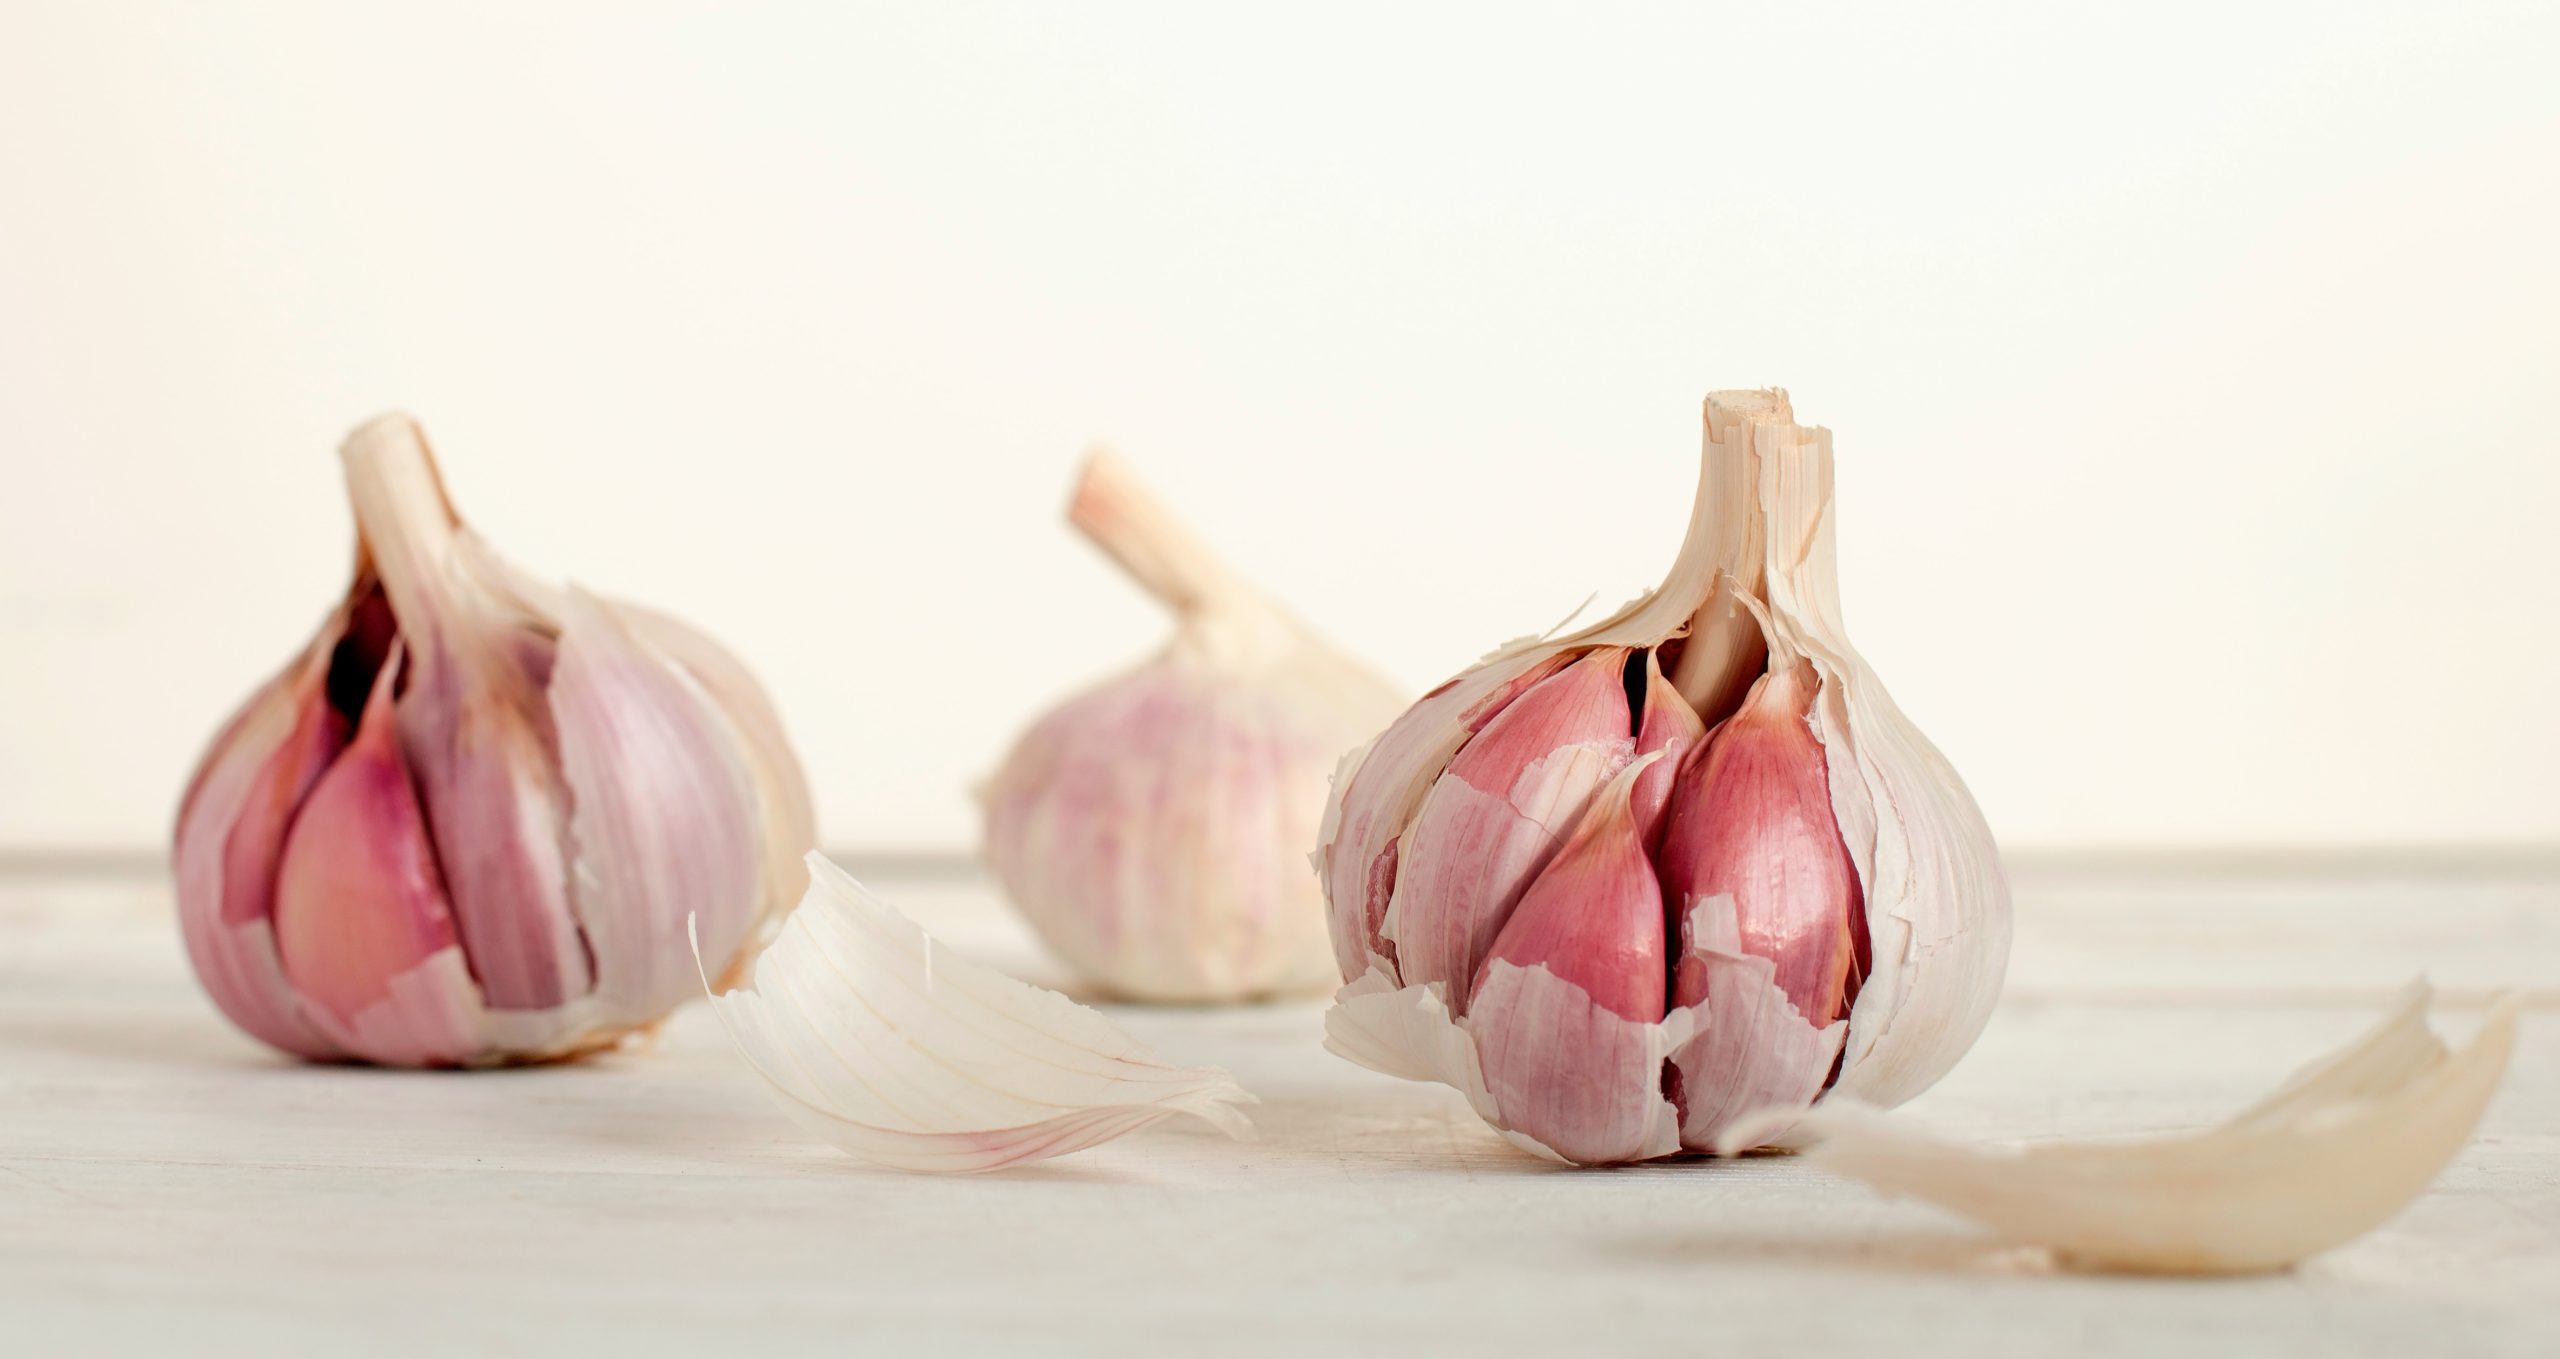
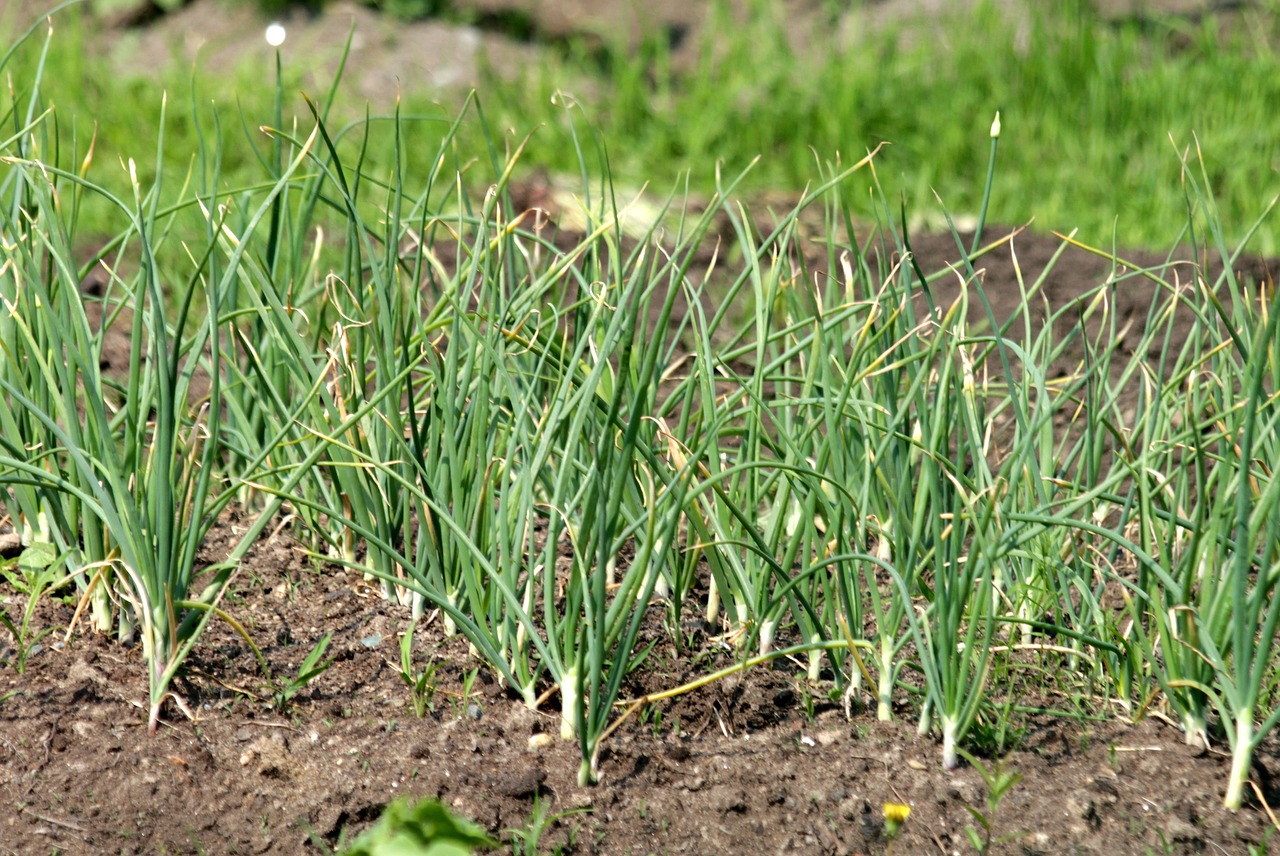
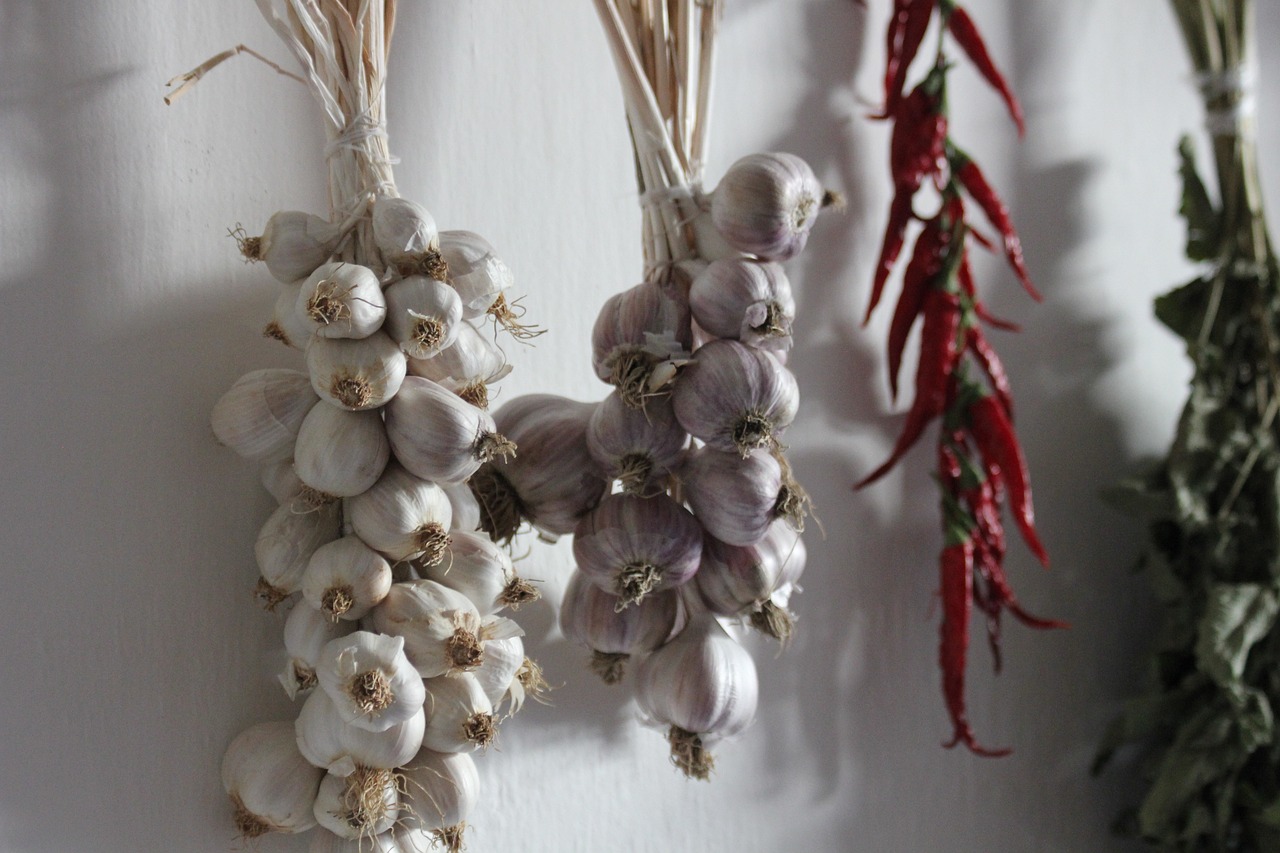
Garlic has a strong scent that will repel and confuse insects like aphids. Garlic repels ermine moths, Japanese beetles and onion flies but at the same time attract aphid eating hoverflies.
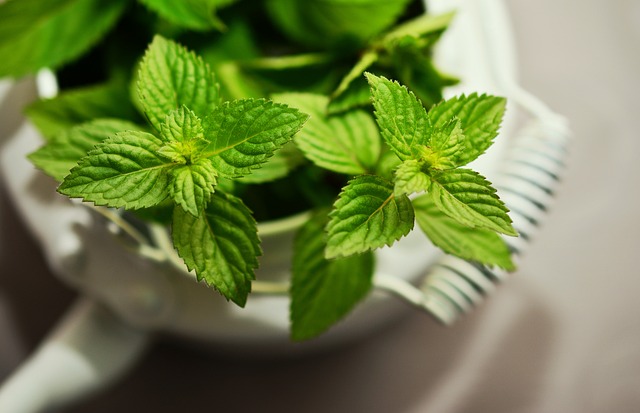
Mint deters ants, flea beetles and aphids with its strong scent. BUT mint can easily take over the garden. Their roots grow deep and far that will cause mint spreading very fast and can choke out other plants. So consider planting them in a container or its own garden bed with some type of barrier underneath. Trust me, you will be fighting with your mint if you just through into any bed. I built a 2’x2’ bed to help me with not letting it take over again. Plus, mint is nice to have for teas and mojitos.
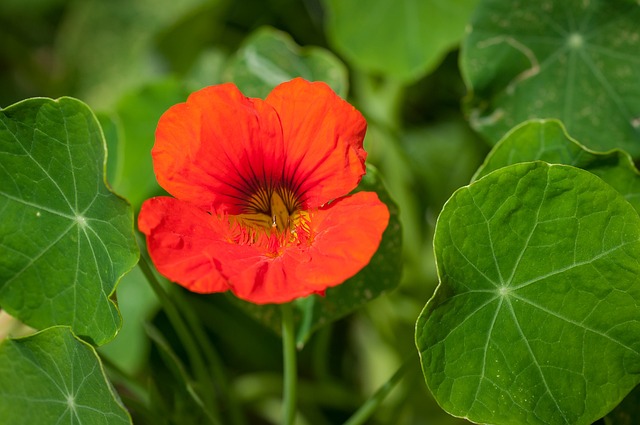
Nasturtiums is a great one to plant close brassica type plants like cabbage, kale and broccoli. They attract hungry caterpillars away from these plants and will be a good host plant.
Parsley is great to attract beneficial insects like pollinators
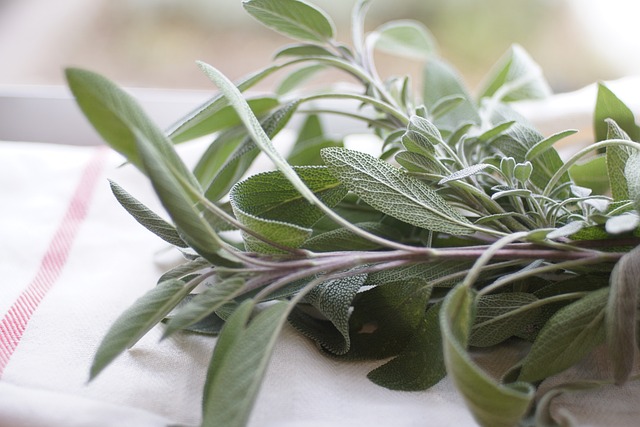
Sage is a great herb that repels cabbage moths and carrot flies. Cabbage moths usually come out in the late summer in my area. You can also use row crop covers to keep those pesky moths from laying their eggs in your cabbage.
Sunflowers is a natural trellis for your cucumbers, pole beans and other climbing plants. Sunflowers also extract pollutants like copper, zinc and cadmium out of the ground through their roots.

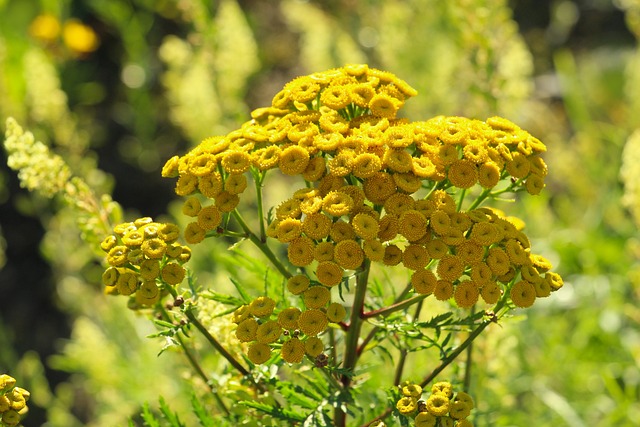
Tansy is a great perennial which will come back every year and will attract pest eating insects like lady birds, ladybugs and predatory wasps. Tansy also repels cutworms which could attack asparagus, bean, beets, cabbage, carrot, celery, corn, lettuce, pea, pepper, potato, and tomato plants. Cutworms target young seedlings and it looks like the top of the seedling is cut right off, they also target the roots.
Calendula, cosmos and marigolds are a beautiful and beneficial flower that will attract beneficial insects and even can be a host plant.
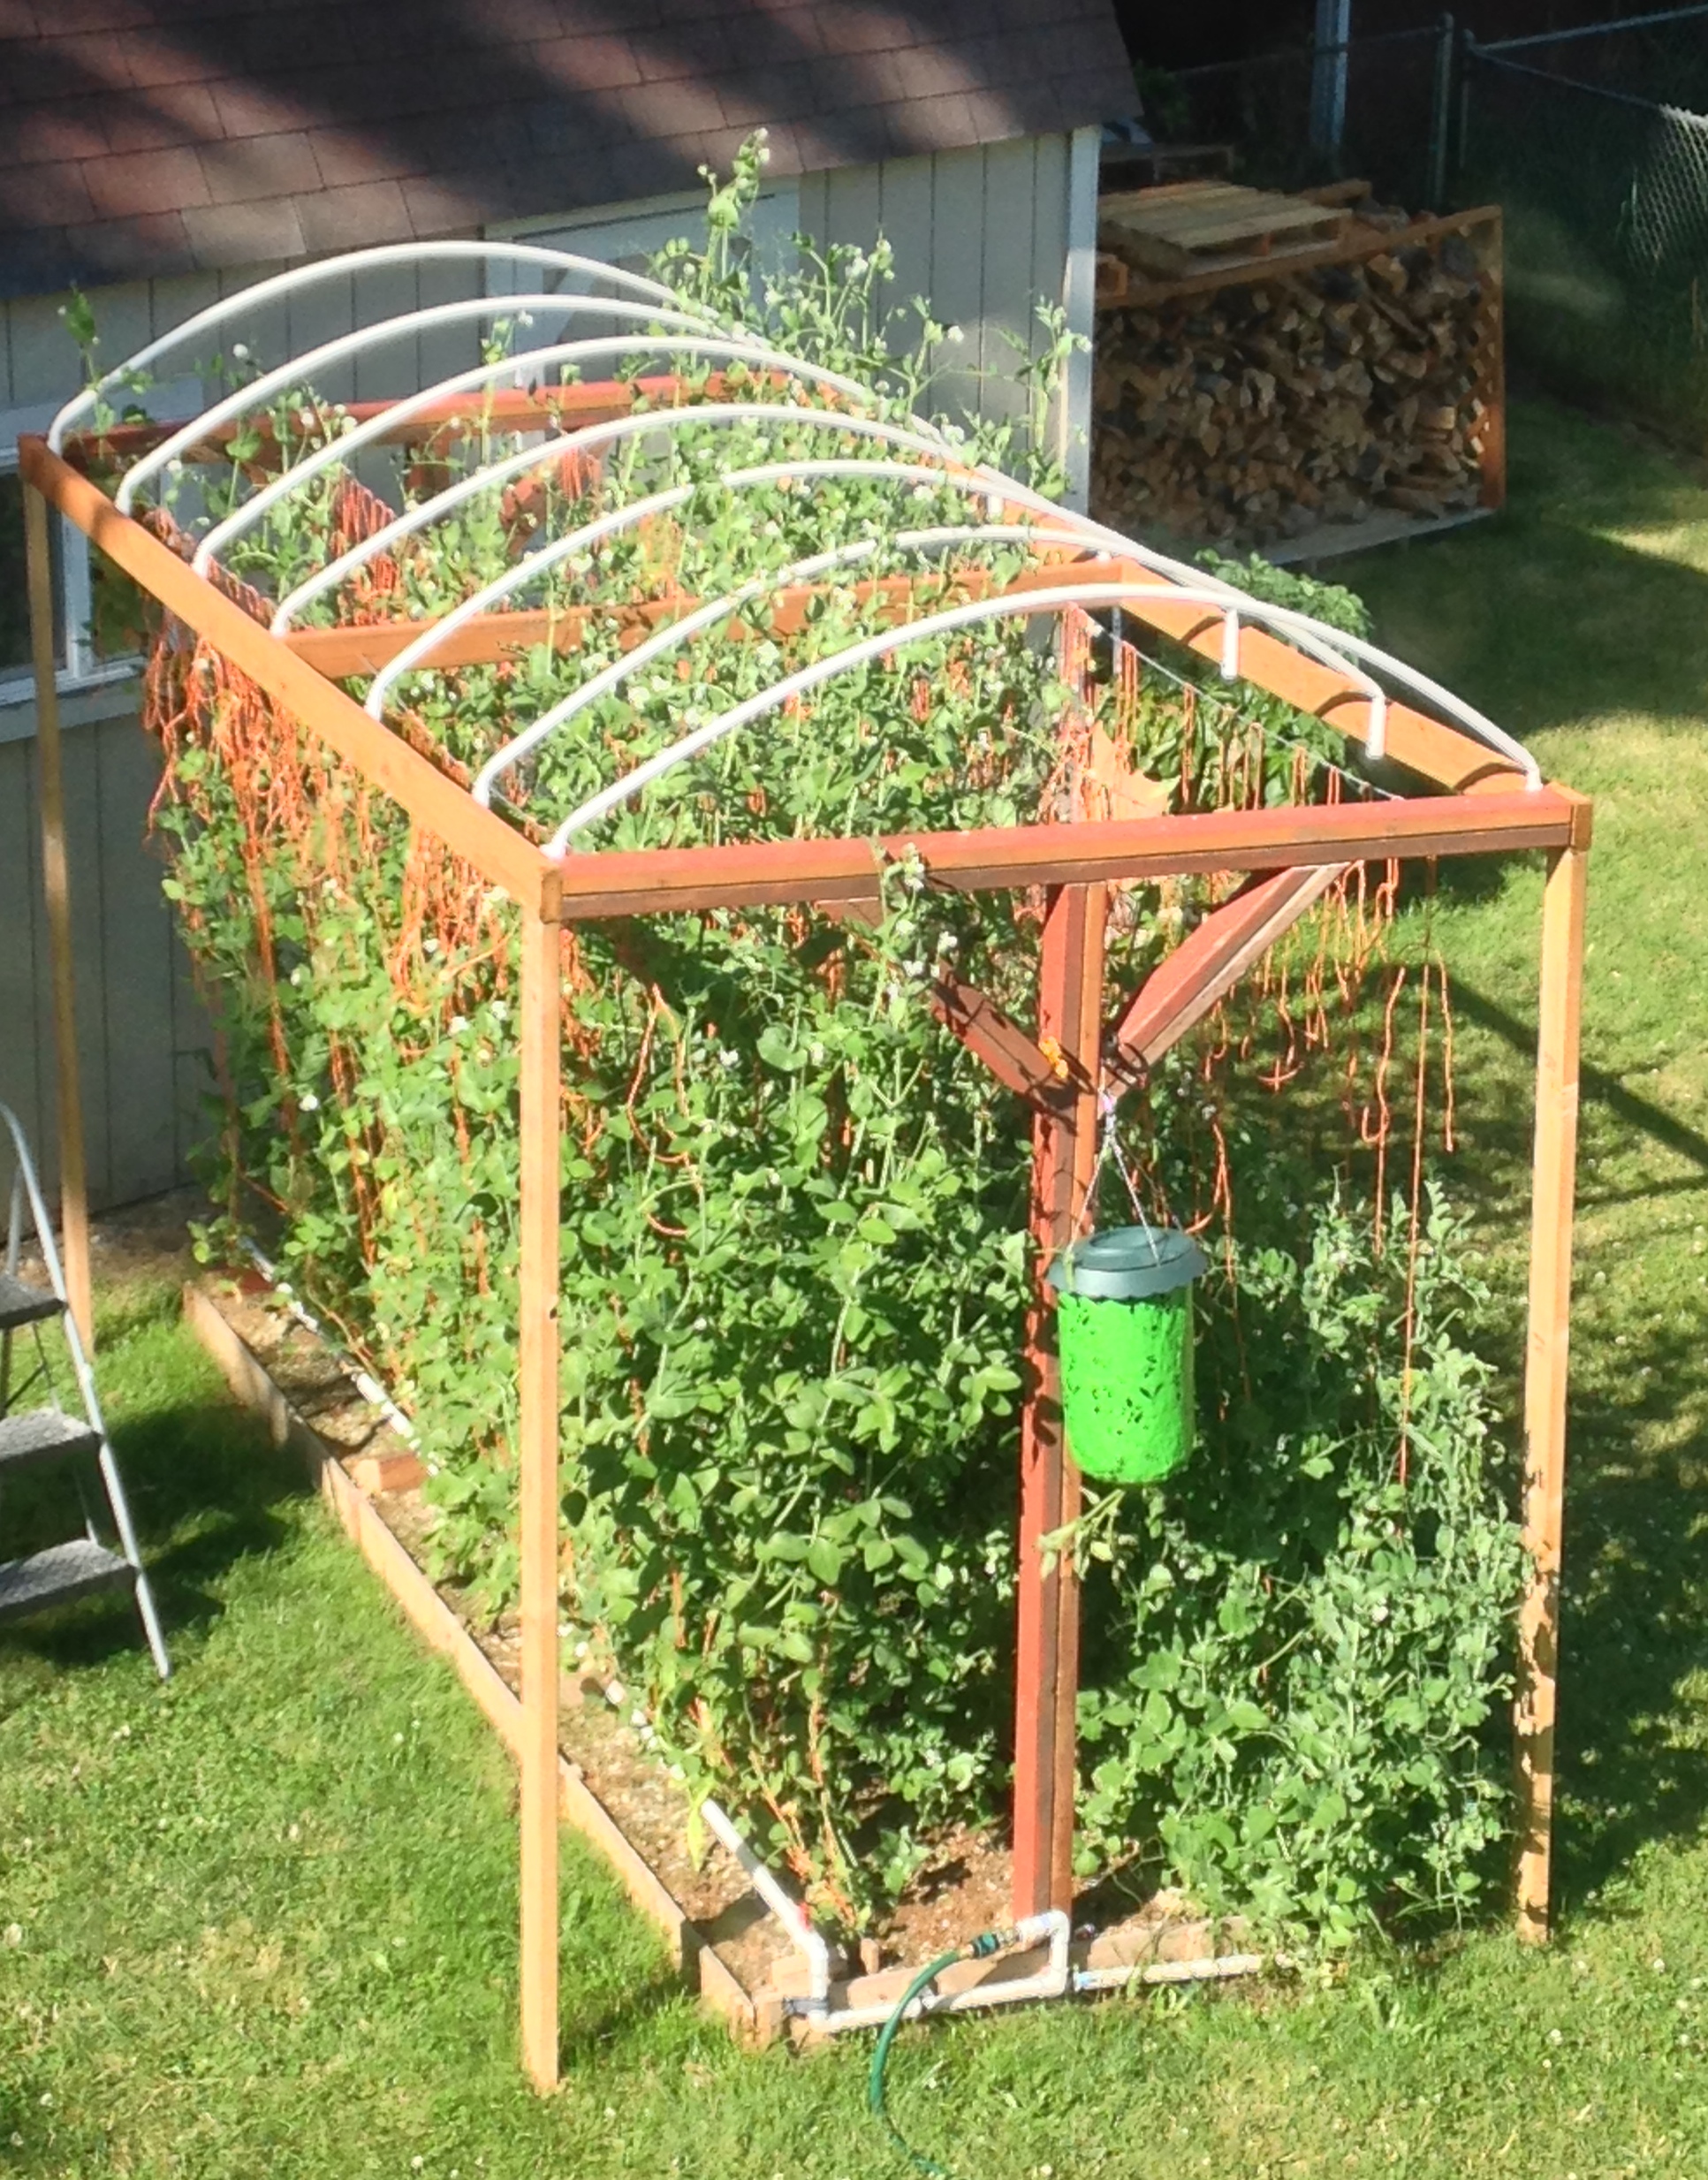
Corn and pole beans will benefit each other. Pole beans have nitrogen fixing capabilities while the corn will give the pole beans a structure to climb on.
Here is a list of companion plants and their benefits:
| CROP | COMPANIONS | BENEFITS |
Asparagus | Calendula, Petunias, Tomatoes | Calendula, petunias, and tomatoes deters asparagus beetles. |
Basil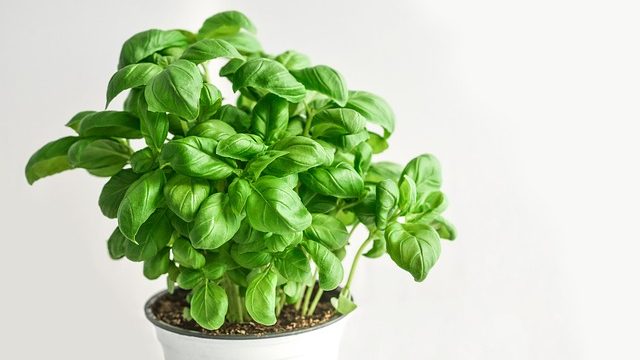 | Peppers, Purslane, Tomatoes | Basil improves the flavor of tomatoes and peppers, while purslane helps shade the soil. |
Beans annquasarano from Pixabay“> annquasarano from Pixabay“> | Beets, Corn, Lovage, Nasturtium, Rosemary, Squash, Strawberries, Sunflowers | Corn benefits from beans nitrogen fixing capabilities while providing a structure for the pole beans to grow up. Lovage and rosemary repel pests. Sunflowers provide shade and a structure for pole beans. Nasturtiums can be used as a host/trap plant to keep aphids off bean plants. |
Beets Tracy Lundgren from Pixabay“> Tracy Lundgren from Pixabay“> | Brassicas, Bush beans, Garlic, Lettuce, Onion family | Brassicas have a different nutrient needs than beets, which allows them not to rob each other of nutrients. Garlic and Onion provides a pest control against aphids, army-worms, cutworms, and mice. Lettuce will help suppress weeds and won’t get in the way of beets roots. |
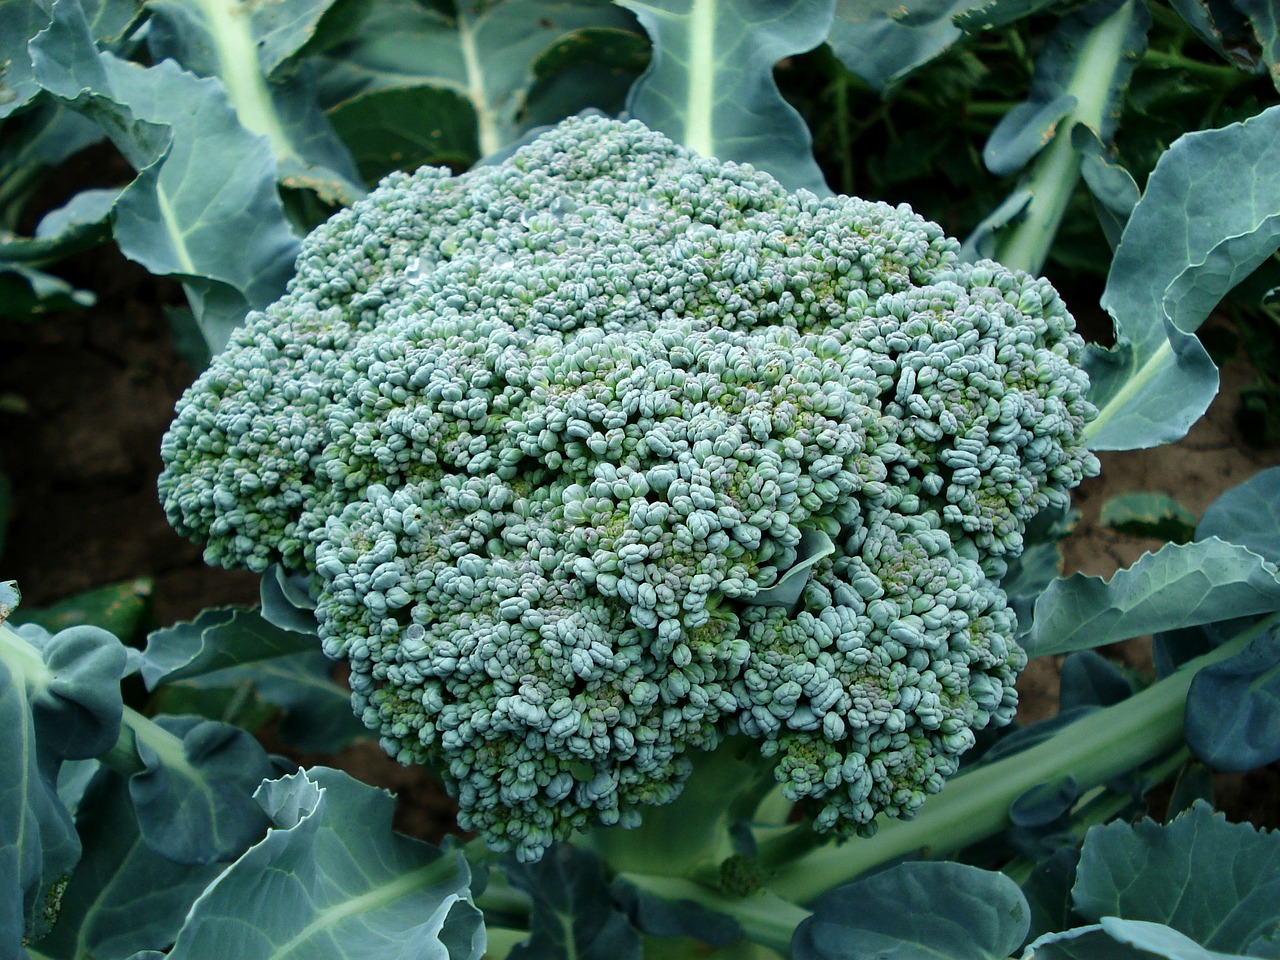
Broccoli Nataly from Pixabay“> Nataly from Pixabay“> | Oregano and Other Brassicas example: Cabbage, Brussels sprouts, cauliflower, etc. | Oregano will help repels pest such as cabbageworms |
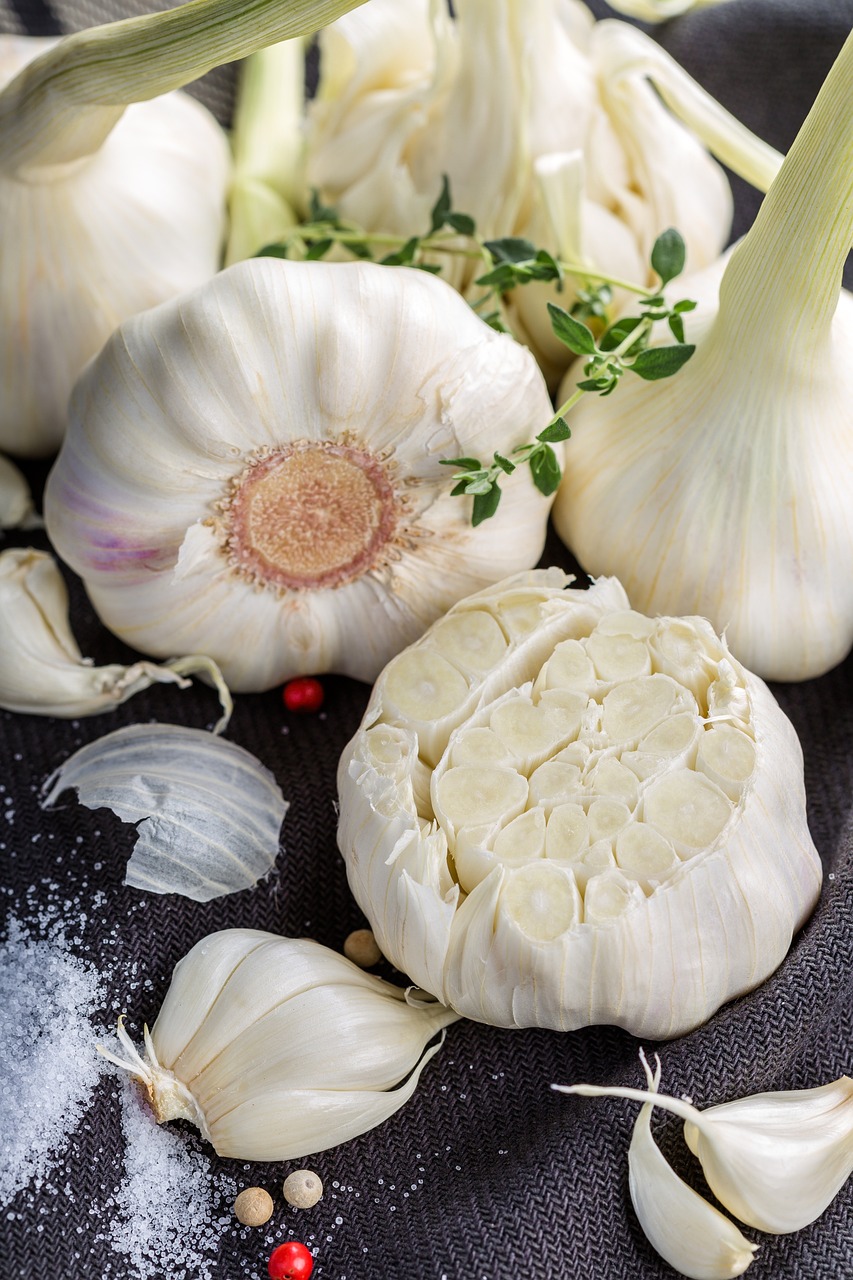
Cabbage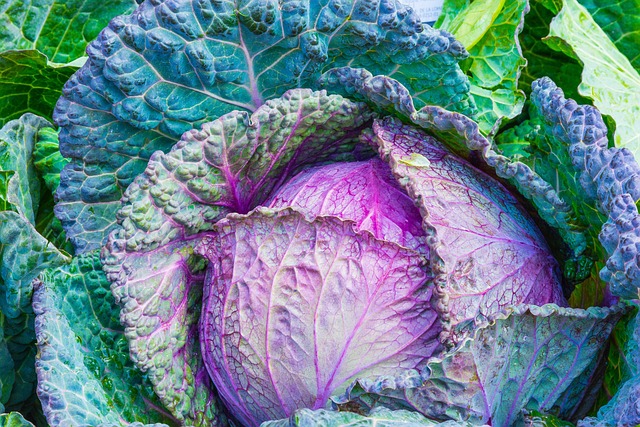 Jose Antonio Alba from Pixabay“> Jose Antonio Alba from Pixabay“> | Garlic, Nasturtium, Sage | Nasturtium deter pest like beetles and aphids. Garlic also repels pests like aphids, while sage deters cabbage moths |
Carrots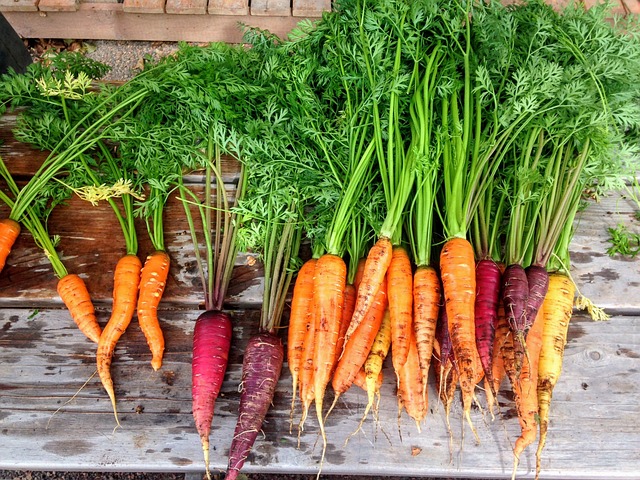 ShireShy from Pixabay“> ShireShy from Pixabay“> | Chives, Leeks, Onions, Peas Radishes, Rosemary, Sage | Sage, rosemary and leeks repel carrot flies and rust flies. Chives improves the growth and flavor while it repels aphids, flies and mites. |
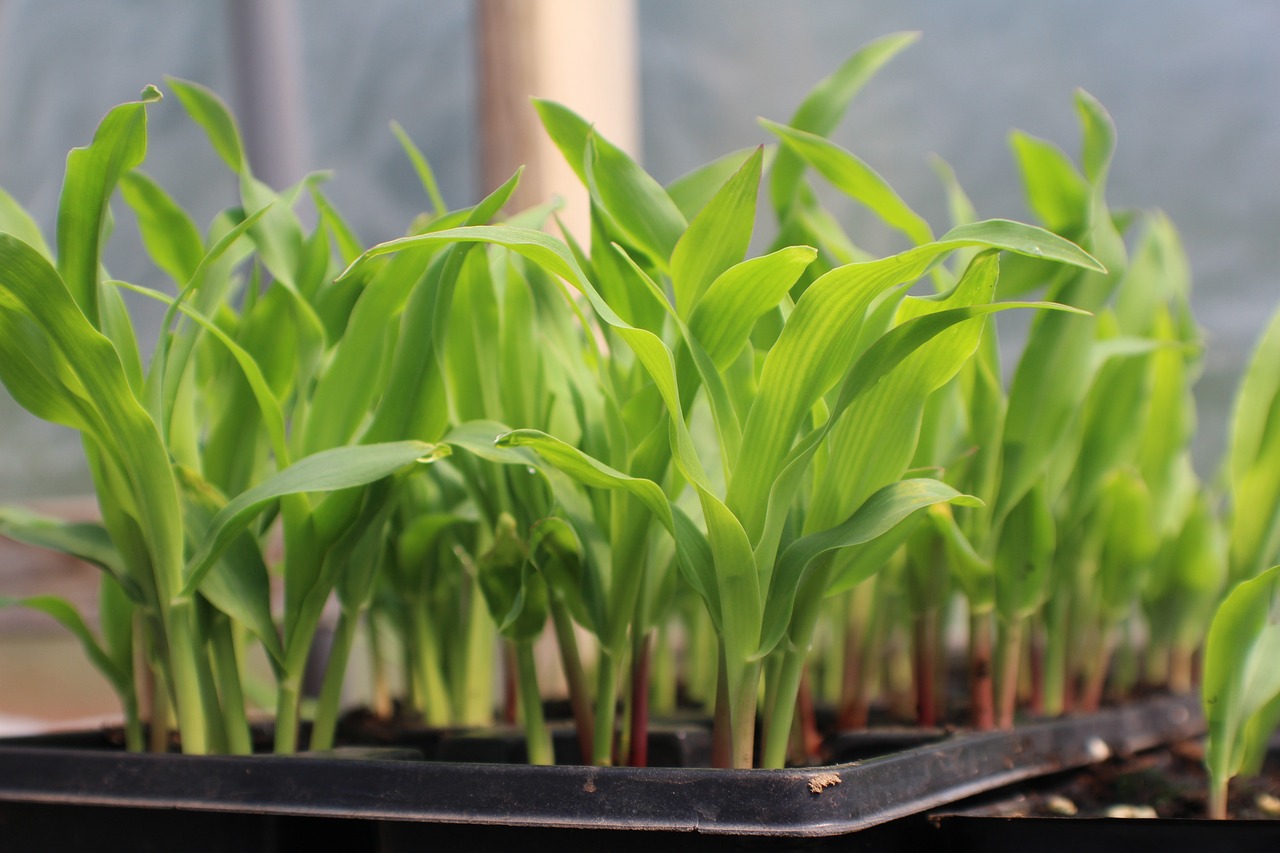
Corn Goran Horvat from Pixabay“> Goran Horvat from Pixabay“> | Beans (pole), Cucumbers, Dill, Melons Peas, Squash, Sunflower | Beans help provide more nitrogen to the soil and corn is a structure the pole beans can climb on. Mature corn offers the cucumbers a structure to climb up. Spinach and other leafy lettuce greens are great to plant around the corn so the corn can give them a cool shade environment. Sunflowers are great for a wind block and to attract ladybugs to keep aphids under control. Squash and Melons provide a ground cover to help with retaining moisture and suppressing weeds. |
Cucumber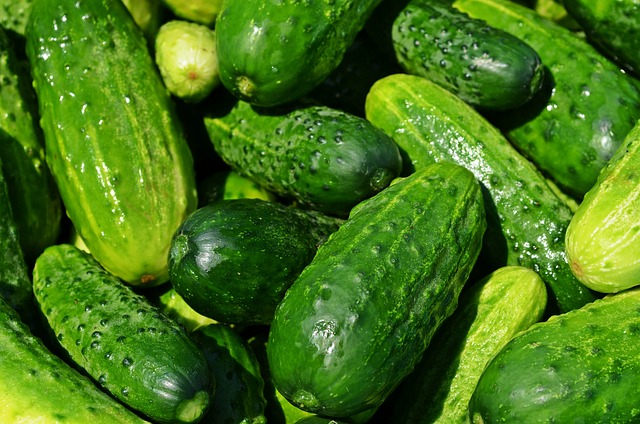 Krzysztof Jaracz from Pixabay“> Krzysztof Jaracz from Pixabay“> | Beans, Borage, Dill, Nasturtiums Oregano, Radish, Sunflowers, Tansy | Dill protects against aphids and mites. Nasturtium deters aphids, beetles and bugs and improves growth and flavor. Oregano deters pests in general. Radish, Nasturtium, and Tansy repel cucumber beetles; radish also repels flea beetles. Sunflowers will allow cucumbers to have a strong structure to grow on if you plant your cucumber seeds when the sunflower is 12″ tall. |
Lettuce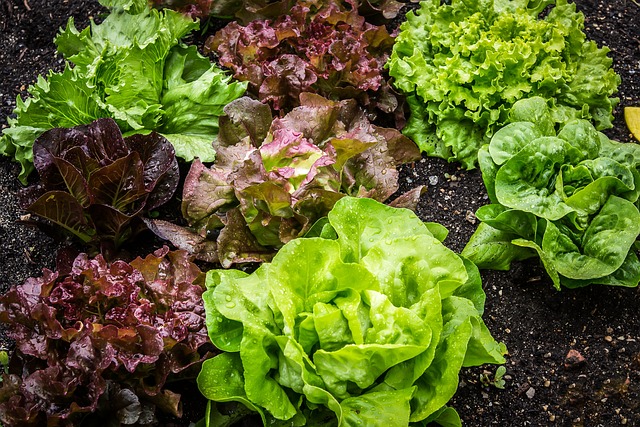 Th G from Pixabay“> Th G from Pixabay“> | Chives, Onions, Oregano, Peas, Poached Egg plants Radishes, Scallions, Tomatoes, Zinnia | Tomatoes can offer lettuce some much needed shade from the hot summer sun. |
Onions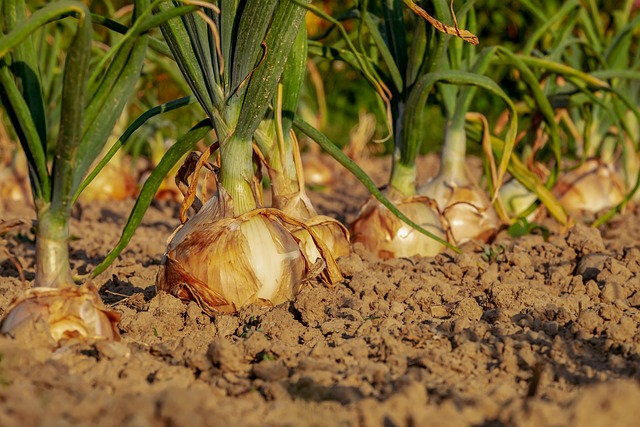 Ilo from Pixabay“> Ilo from Pixabay“> | Beets, Cabbage, Carrot, Chard Lettuce, Strawberry, Tomatoes | Onions aroma disorients pests like borers and cutworms. To protect your onions from onion maggot flies, try planting marigolds nearby, so the smell of this plant will reduce these types of pests. |
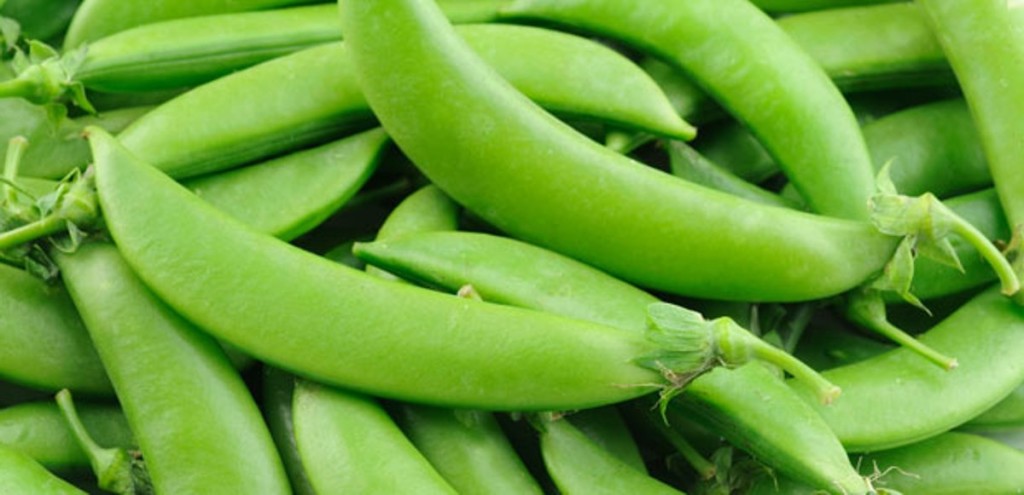
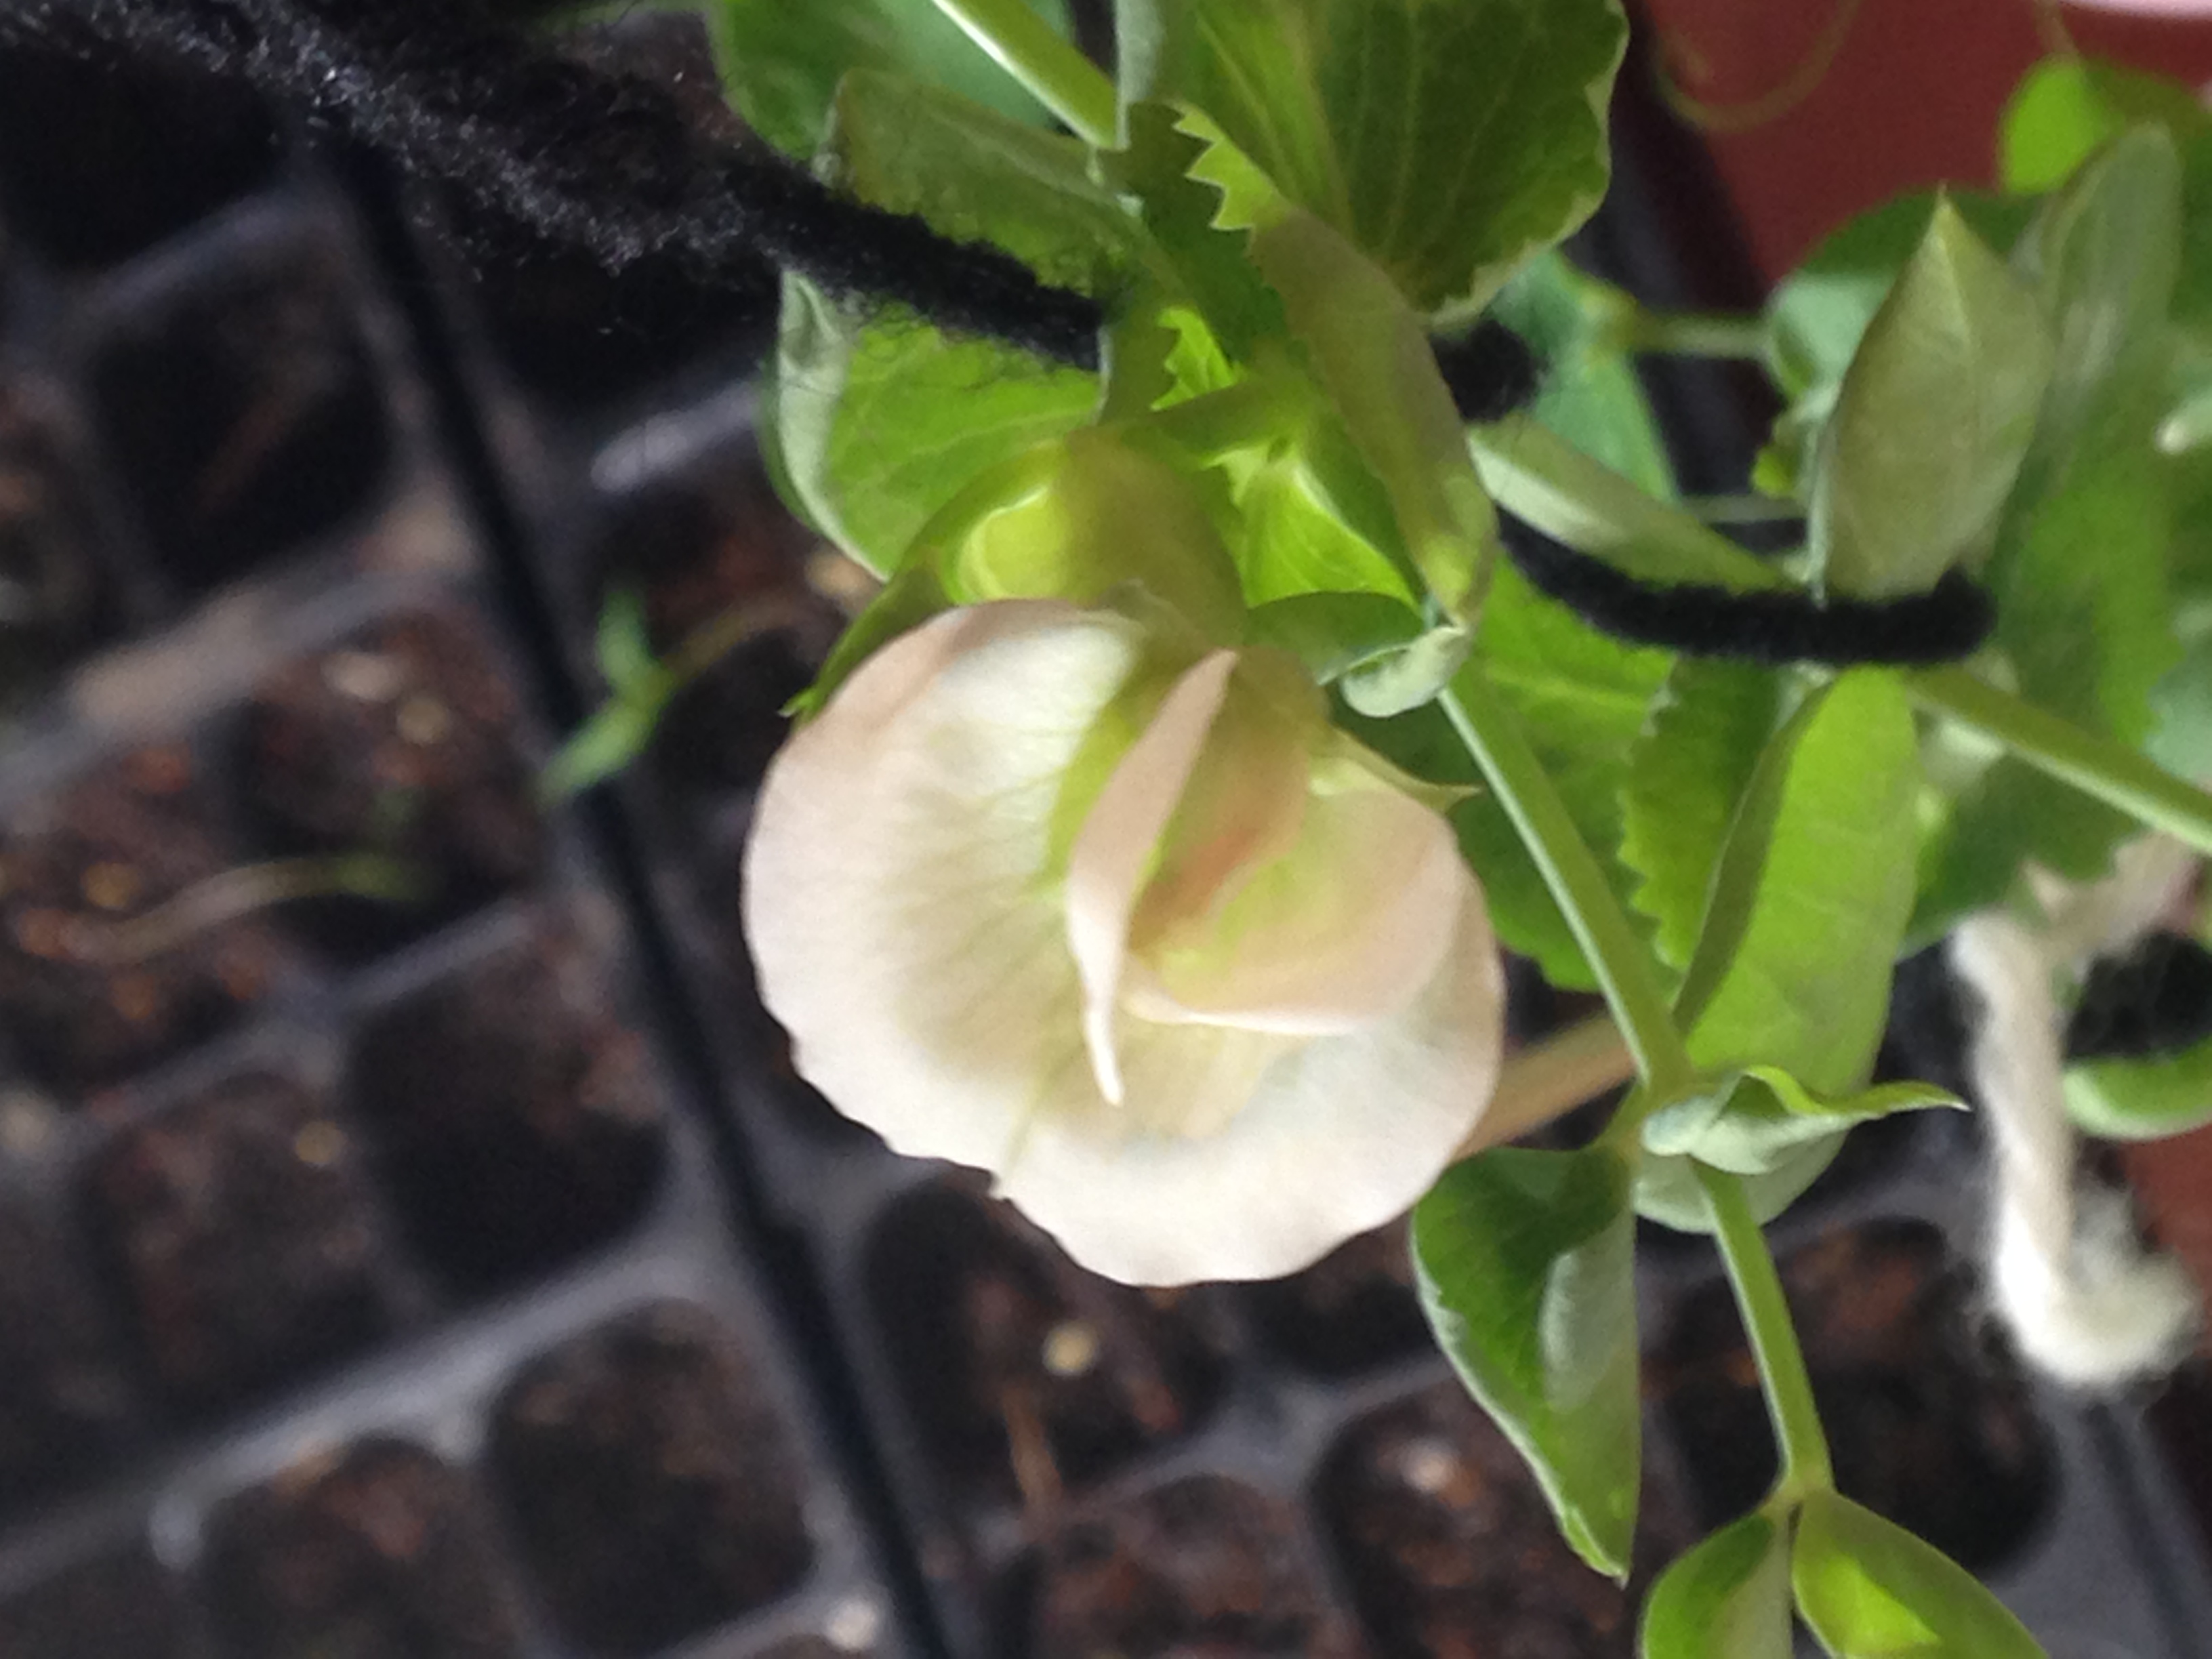
Peas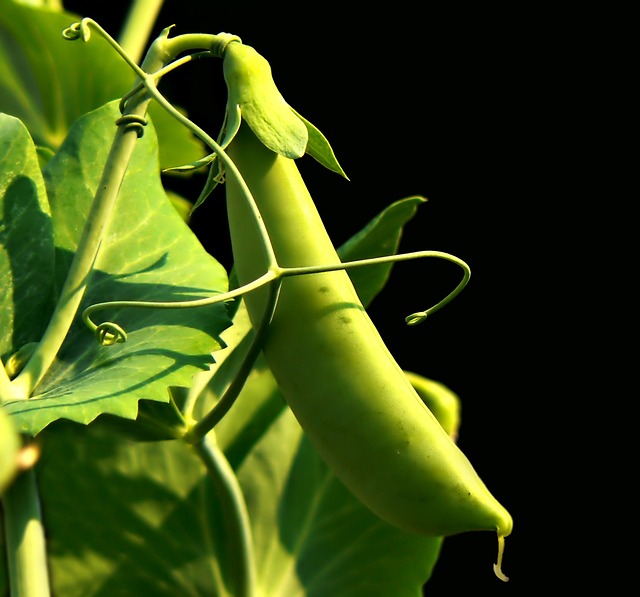 Steve Dietrich from Pixabay“> Steve Dietrich from Pixabay“> | Alyssum, Carrot, Chives, Corn, Grapes Lettuce, Mint, Radish, Spinach, Turnip | Alyssum attract pollinators which will eat aphids. Chives will deter Aphids. You can plant garlic and onions around most plants, BUT DO NOT plant them around peas, because it will hinder the growth. Carrots are great to plant around peas, since they are both cold weather crops and are mature around the same time. Corn is a great structure for peas to climb on. |
Peppers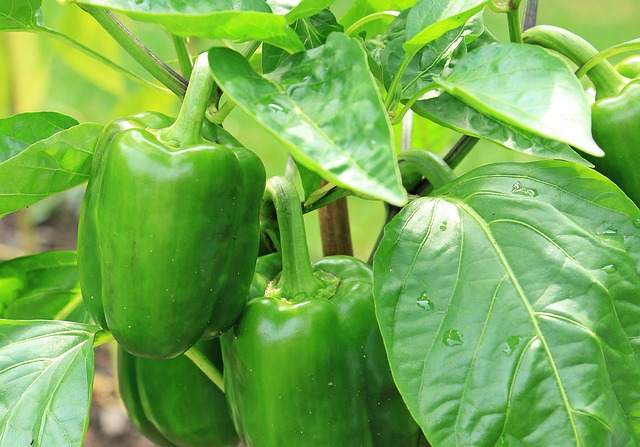 NoName_13 from Pixabay“> NoName_13 from Pixabay“> | Basil, Chives, Garlic, Marjoram, Onions, Oregano, Scallions | Basil, Marjoram and Oregano are great herbs to plant around peppers because they have a protective insecticidal qualities. The allium family like chives, onions, garlic and scallions are great to deter pest. |
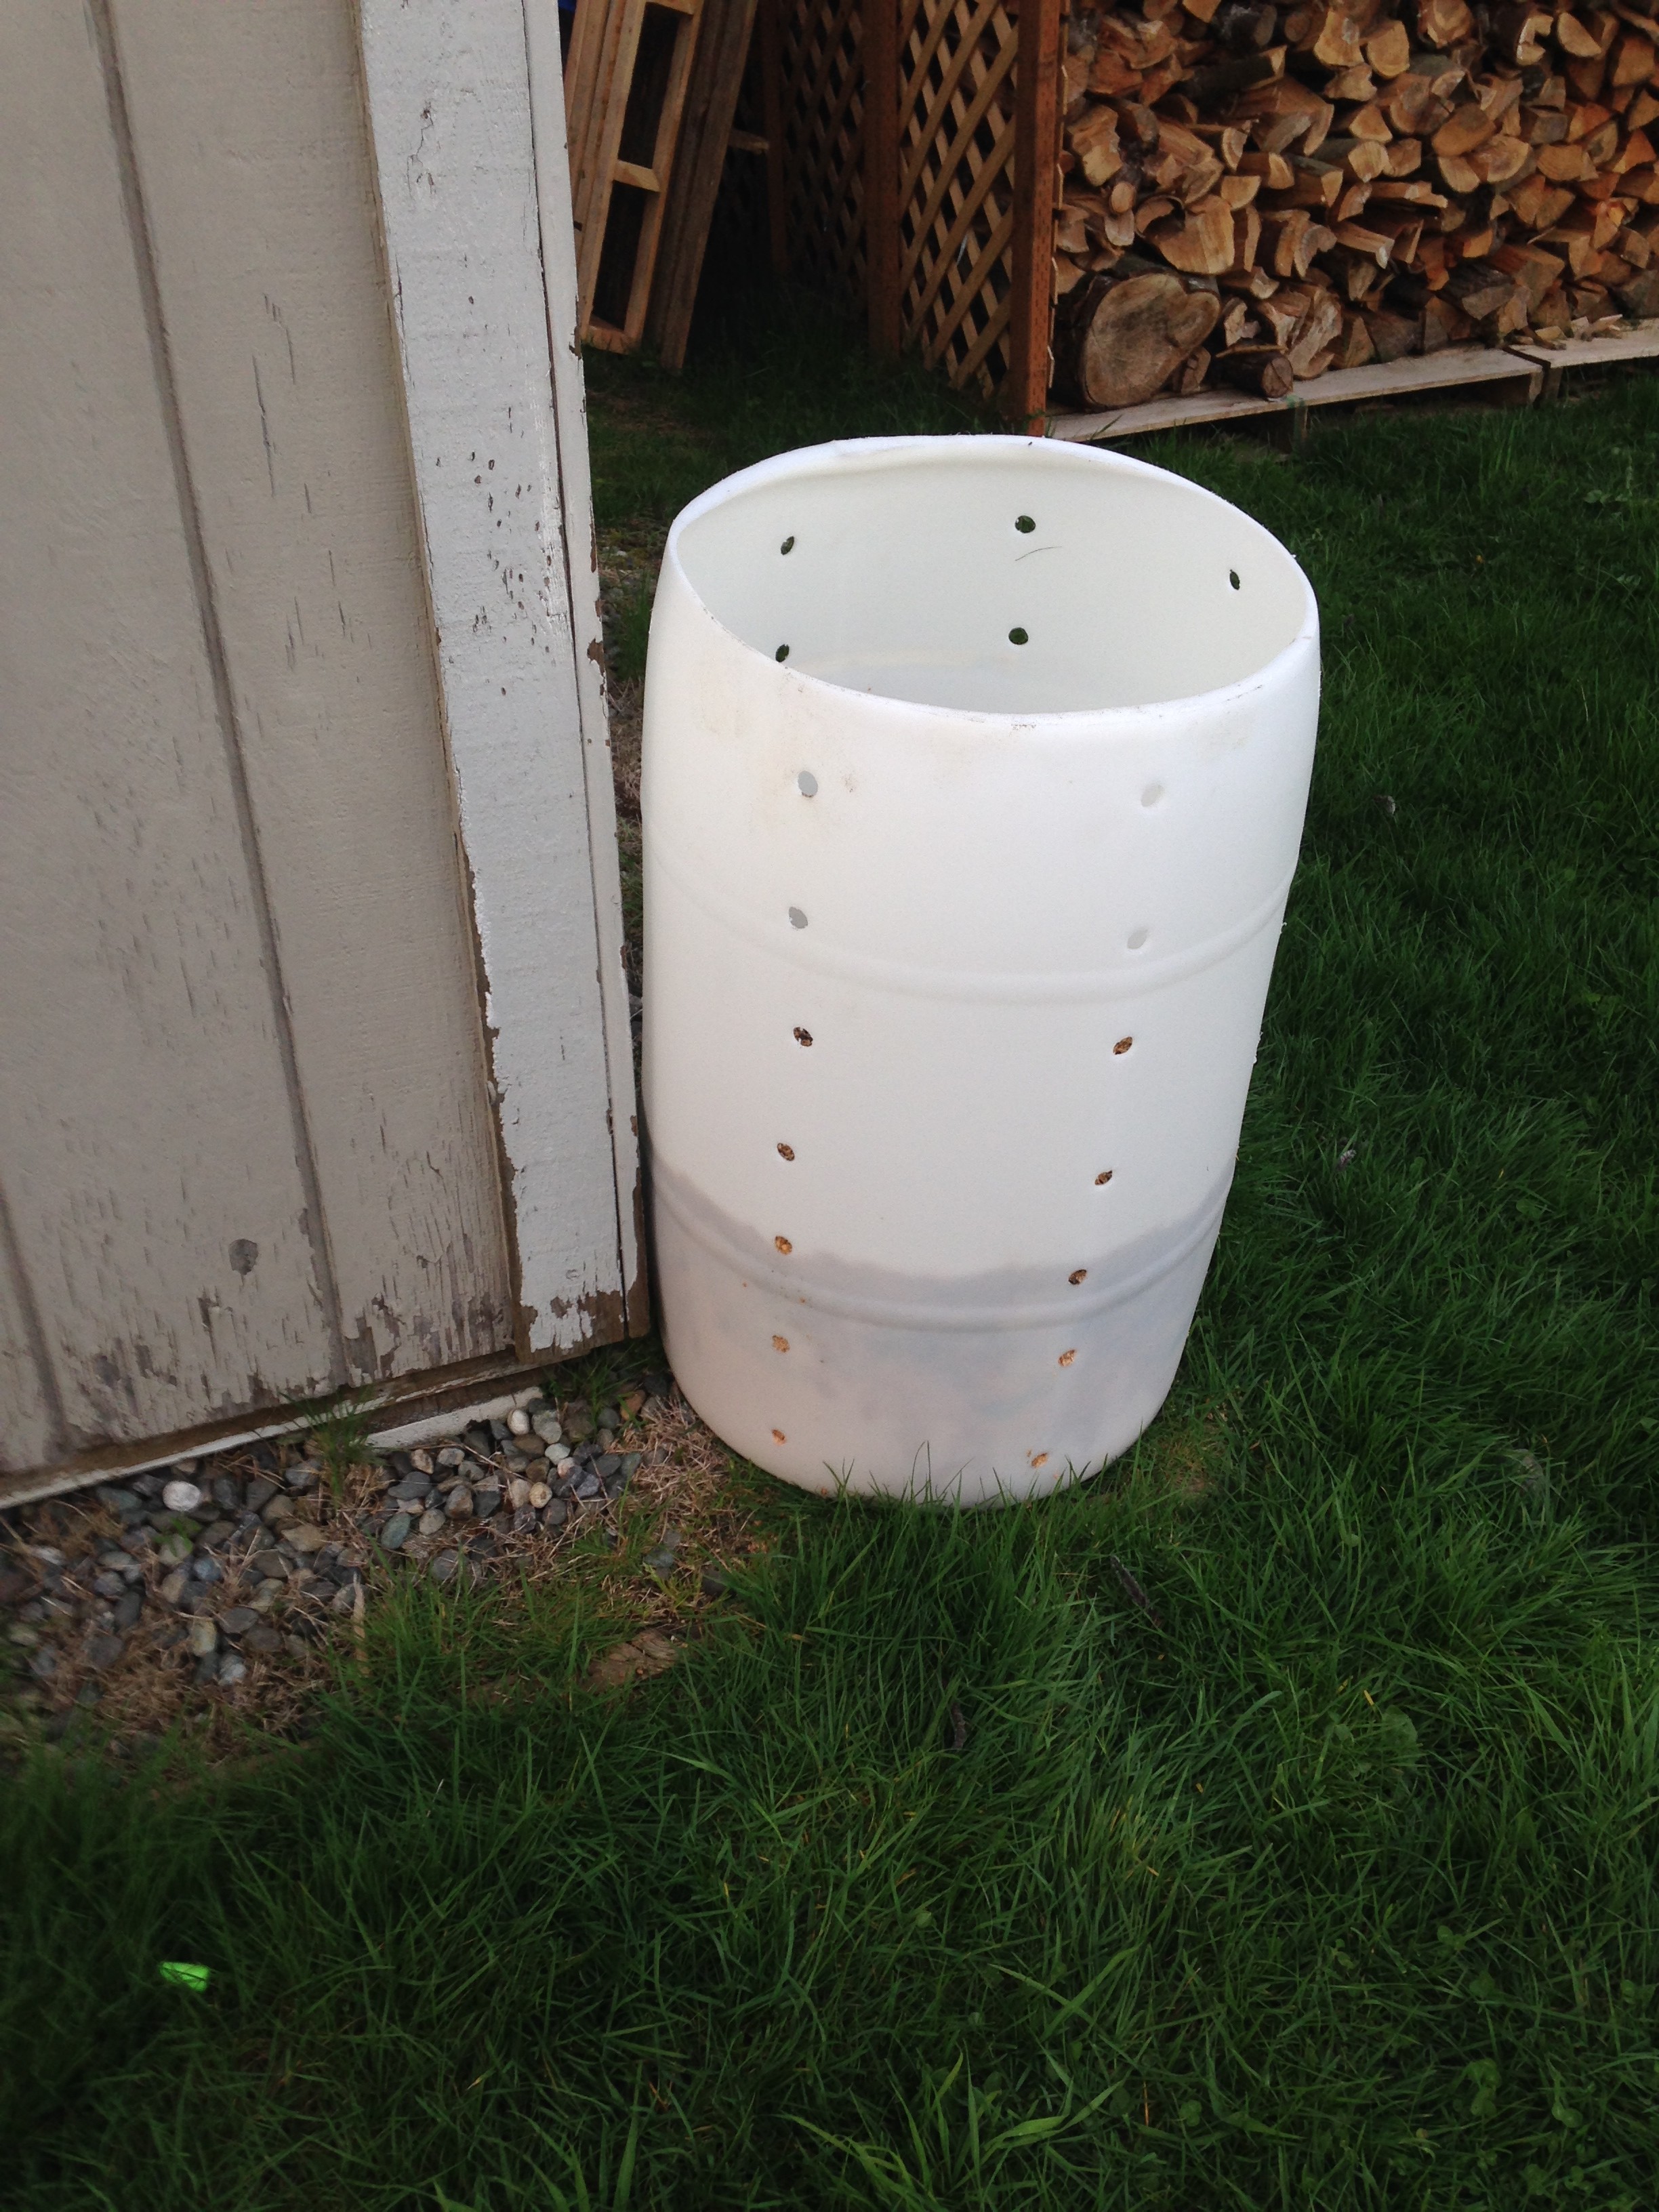
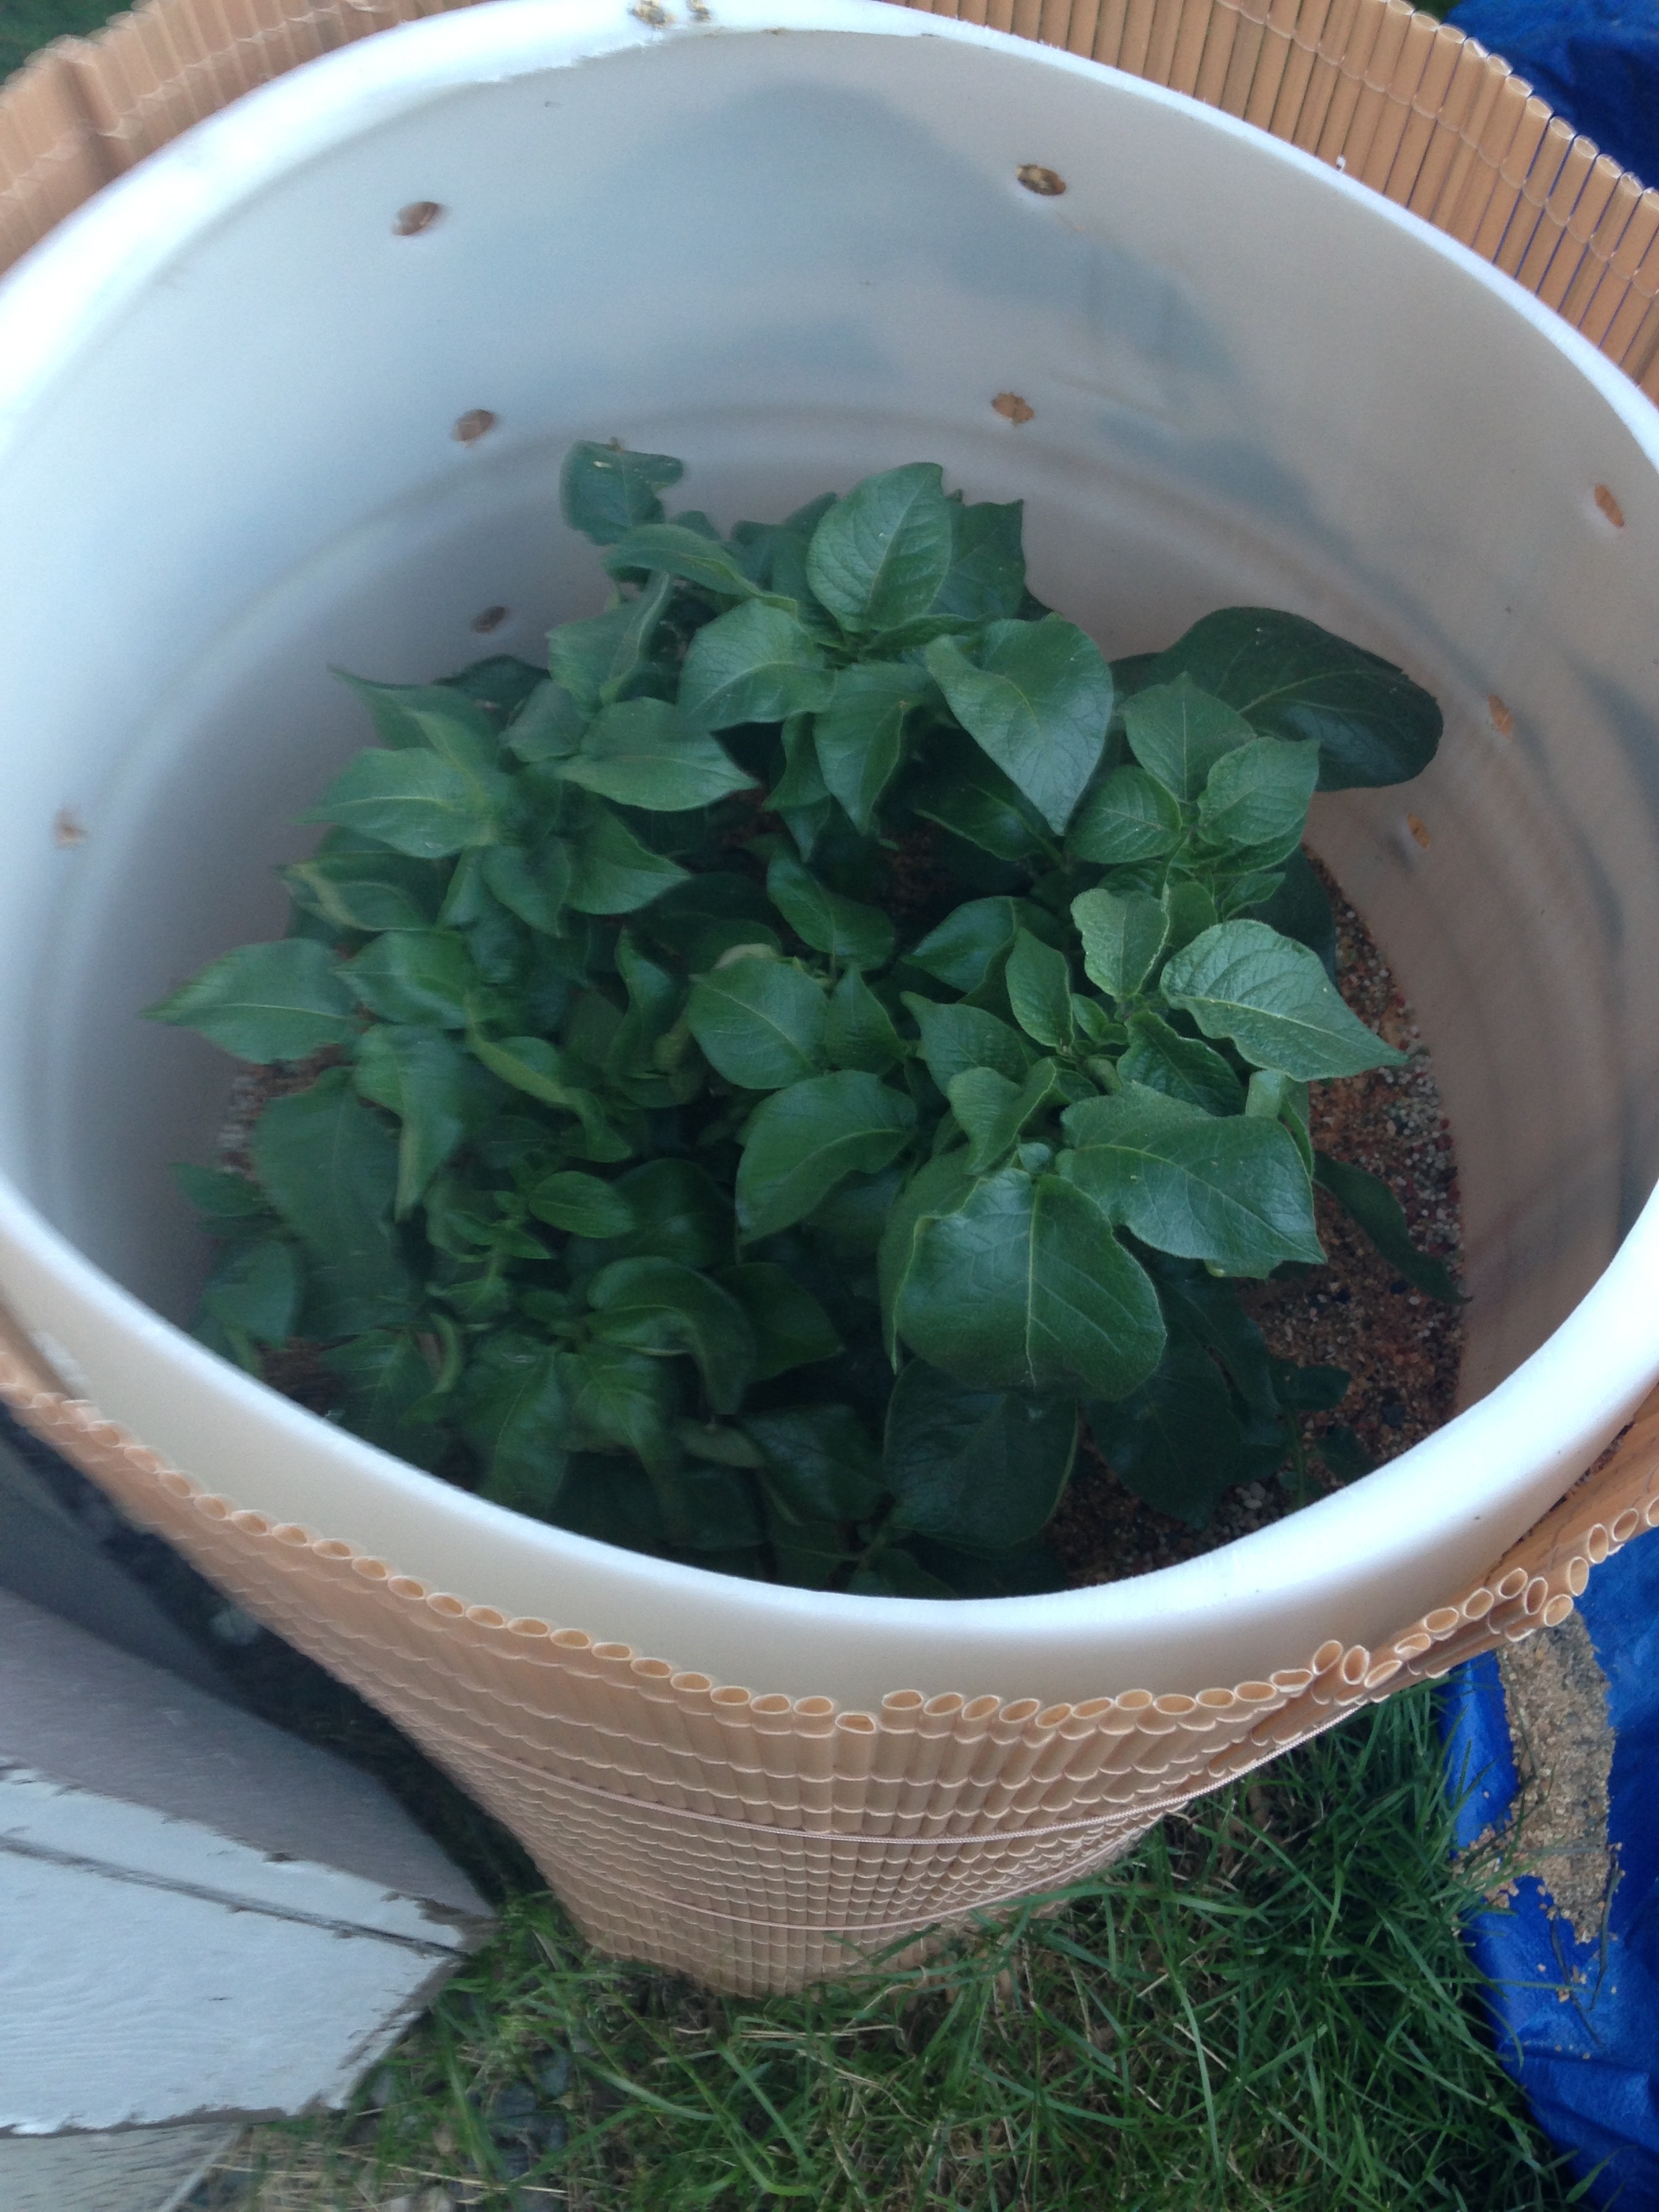
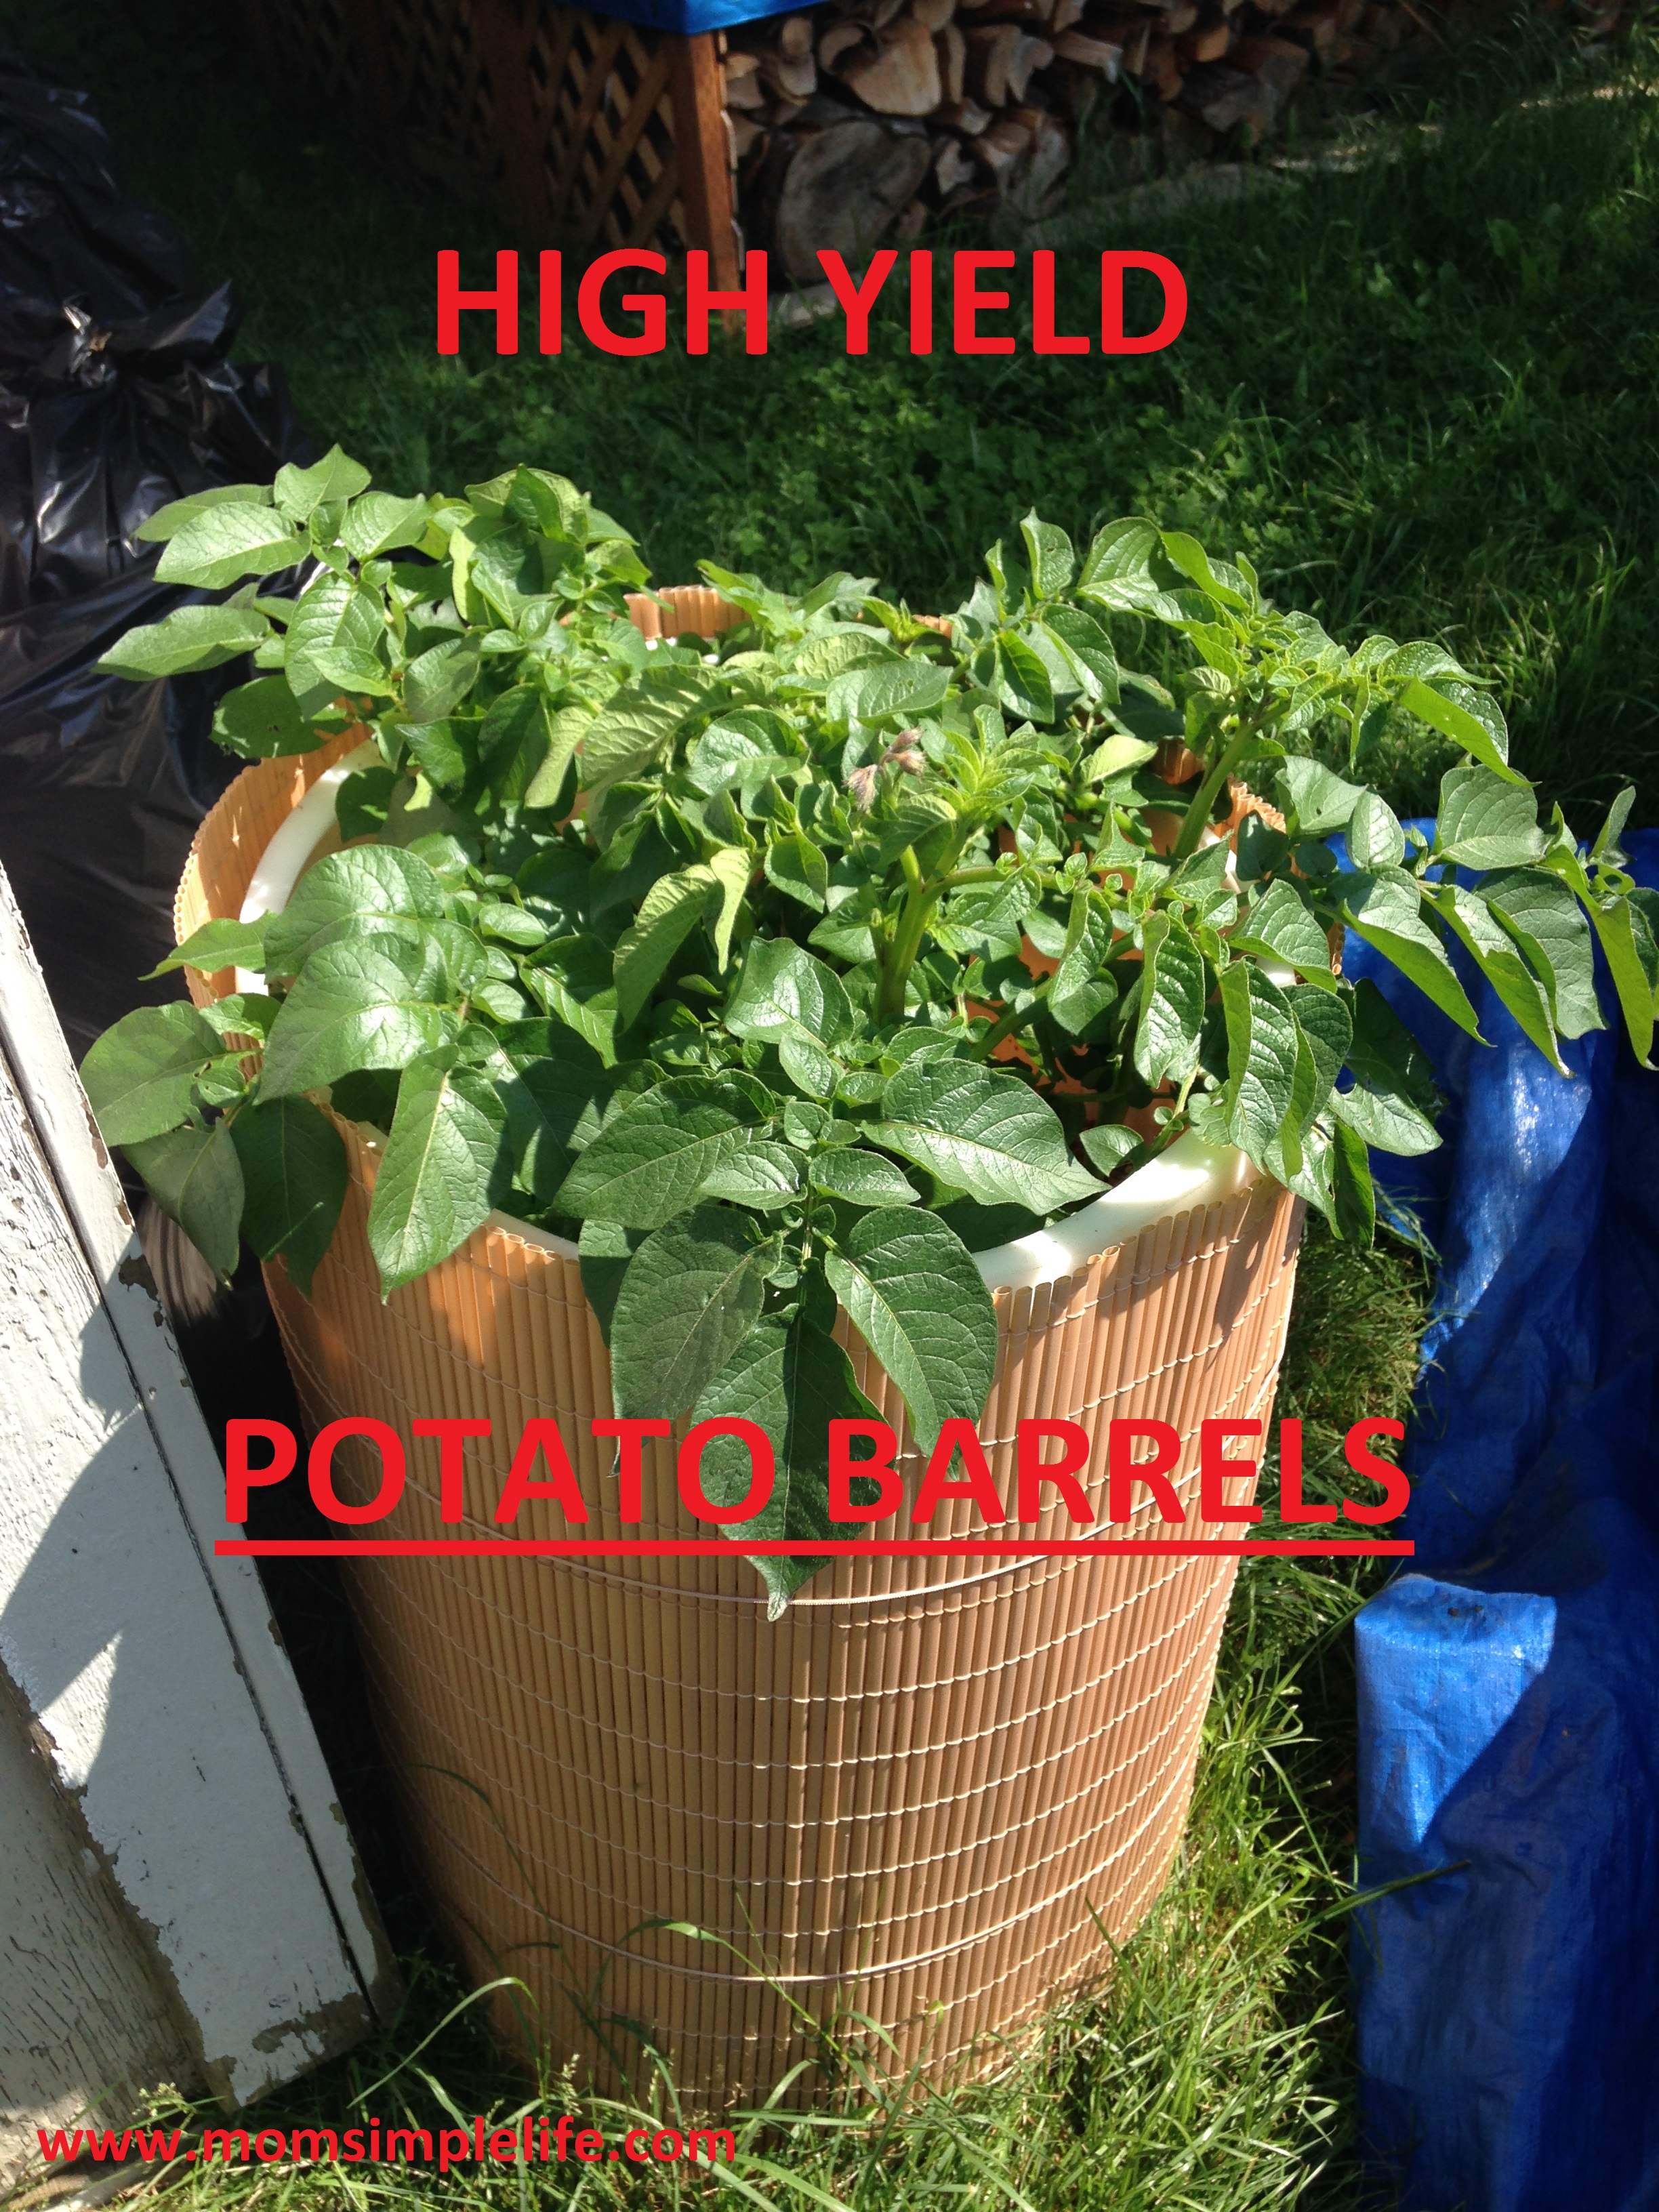
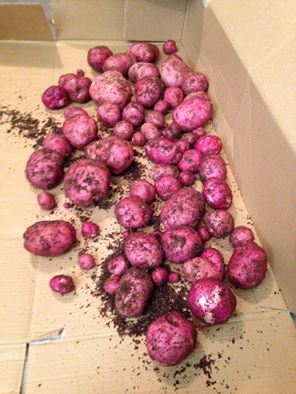
Potatoes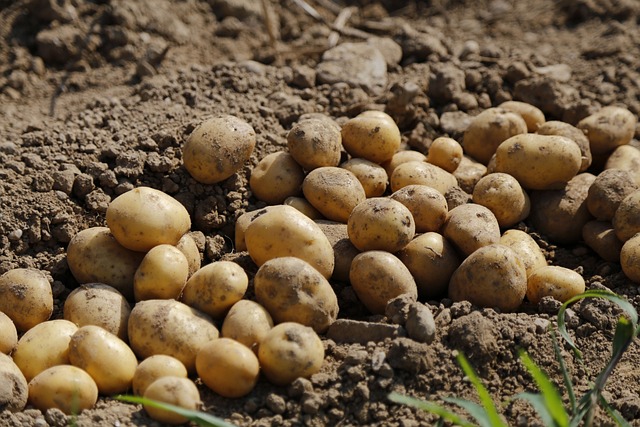 | Basil, Beans, Calendula, Catmint Cilantro, Garlic, Horseradish, Oregano Peas, Tansy | Cilantro and Garlic repel pests like Aphids, spider mites and potato beetles. Calendula, tansy, catmint and horseradish ward off potato beetles. (Tansy is consider invasive in some areas, so check with your local agriculture department.) Catmint can invite cats into your garden, so consider planting in pots on the edge or corner of your garden. Beans can help produce larger tubers. |
Radishes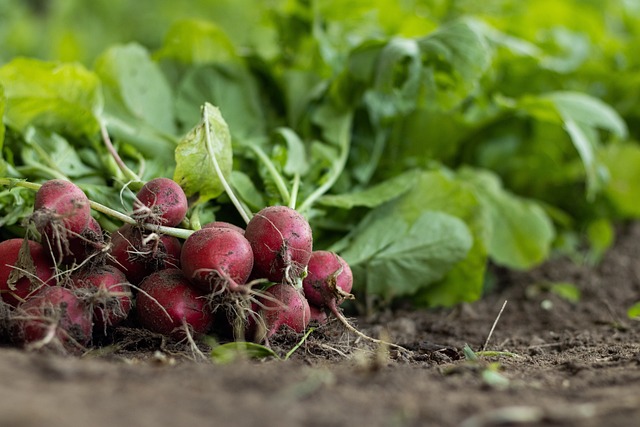 Mirko Fabian from Pixabay“> Mirko Fabian from Pixabay“> | Chervil, Lettuce, Nasturtium, Peas | Nasturtiums are good trap plants for radishes. You can also plant radishes to be a trap plant to fight against flea beetles. Chervil improves growth and flavor and peas add nitrogen to the soil. Lettuce grow well with radishes since the care are the same. |
| Winter Squash and Pumpkins 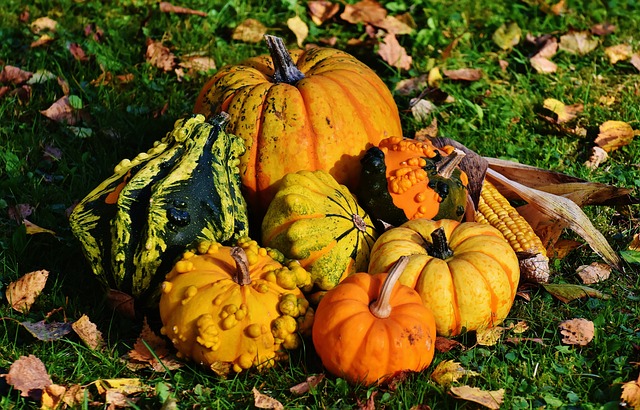 Alexa from Pixabay“> Alexa from Pixabay“> | Beans (pole), Buckwheat, Calendula Corn, Marigold, Nasturtium, Oregano | Pole beans provides nitrogen to the squash and you can plant corn so the beans has a structure to climb on (the three sisters). Buckwheat attracts beneficial bugs to take care of pests. Nasturtiums, Calendula and Oregano provide pest protection. |
Spinach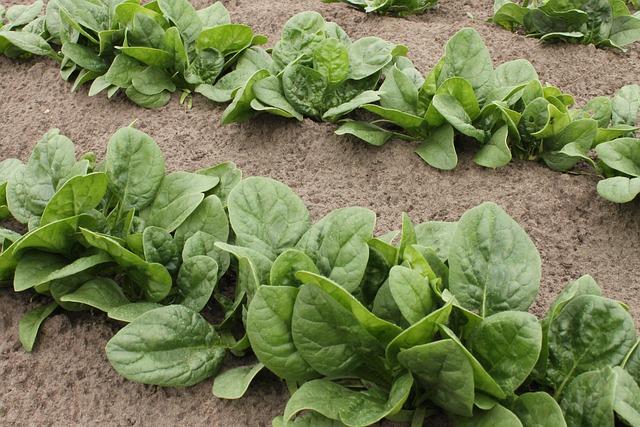 Maike Wilstermann-Hildebrand from Pixabay“> Maike Wilstermann-Hildebrand from Pixabay“> | Beans, Cilantro, Eggplant, Oregano Peas, Rosemary, Strawberries | Cilantro, Oregano, and Rosemary repel pests. While peas, beans and eggplant is great at offering shade during the hot summer months. Strawberries benefit from Spinach since spinach contains saponins which repels against destructive pests. |
Tomatoes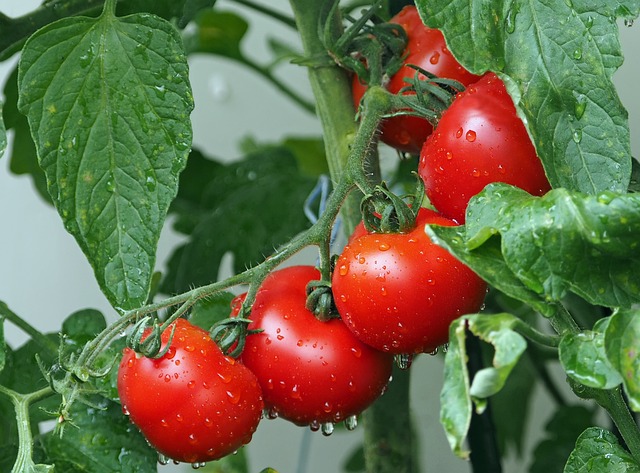 kie-ker from Pixabay“> kie-ker from Pixabay“> | Asparagus, Basil, Borage, Calendula Dill, Garlic, Nasturtium, Onion Parsley, Thyme | Asparagus repels nematodes. Basil repels aphids, spidermites, mosquitos and whiteflies. Basil attracts pollinators. Garlic repel aphids and other pests. Borage repel hornworms. Thyme reduces the armyworms from laying their eggs and dill reduce cutworms from laying their eggs while also supporting parasitic wasps that eat pest caterpillars. |
| Zucchini Summer Squash 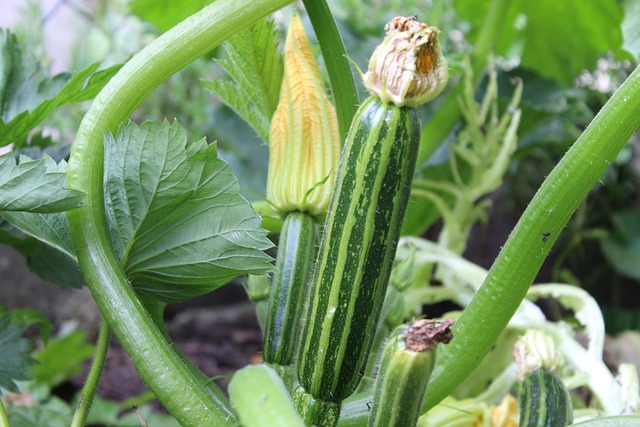 HBH-MEDIA-photography from Pixabay“> HBH-MEDIA-photography from Pixabay“> | Buckwheat, Oregano, Nasturtium, Zinnia | Buckwheat attracts pest predators. Oregano and zinnias attract pollinators. Nasturtium protects against aphids and white-flies. |
Please leave me a comment and check out my YouTube channel for more content.
Written by: Melissa Ferris


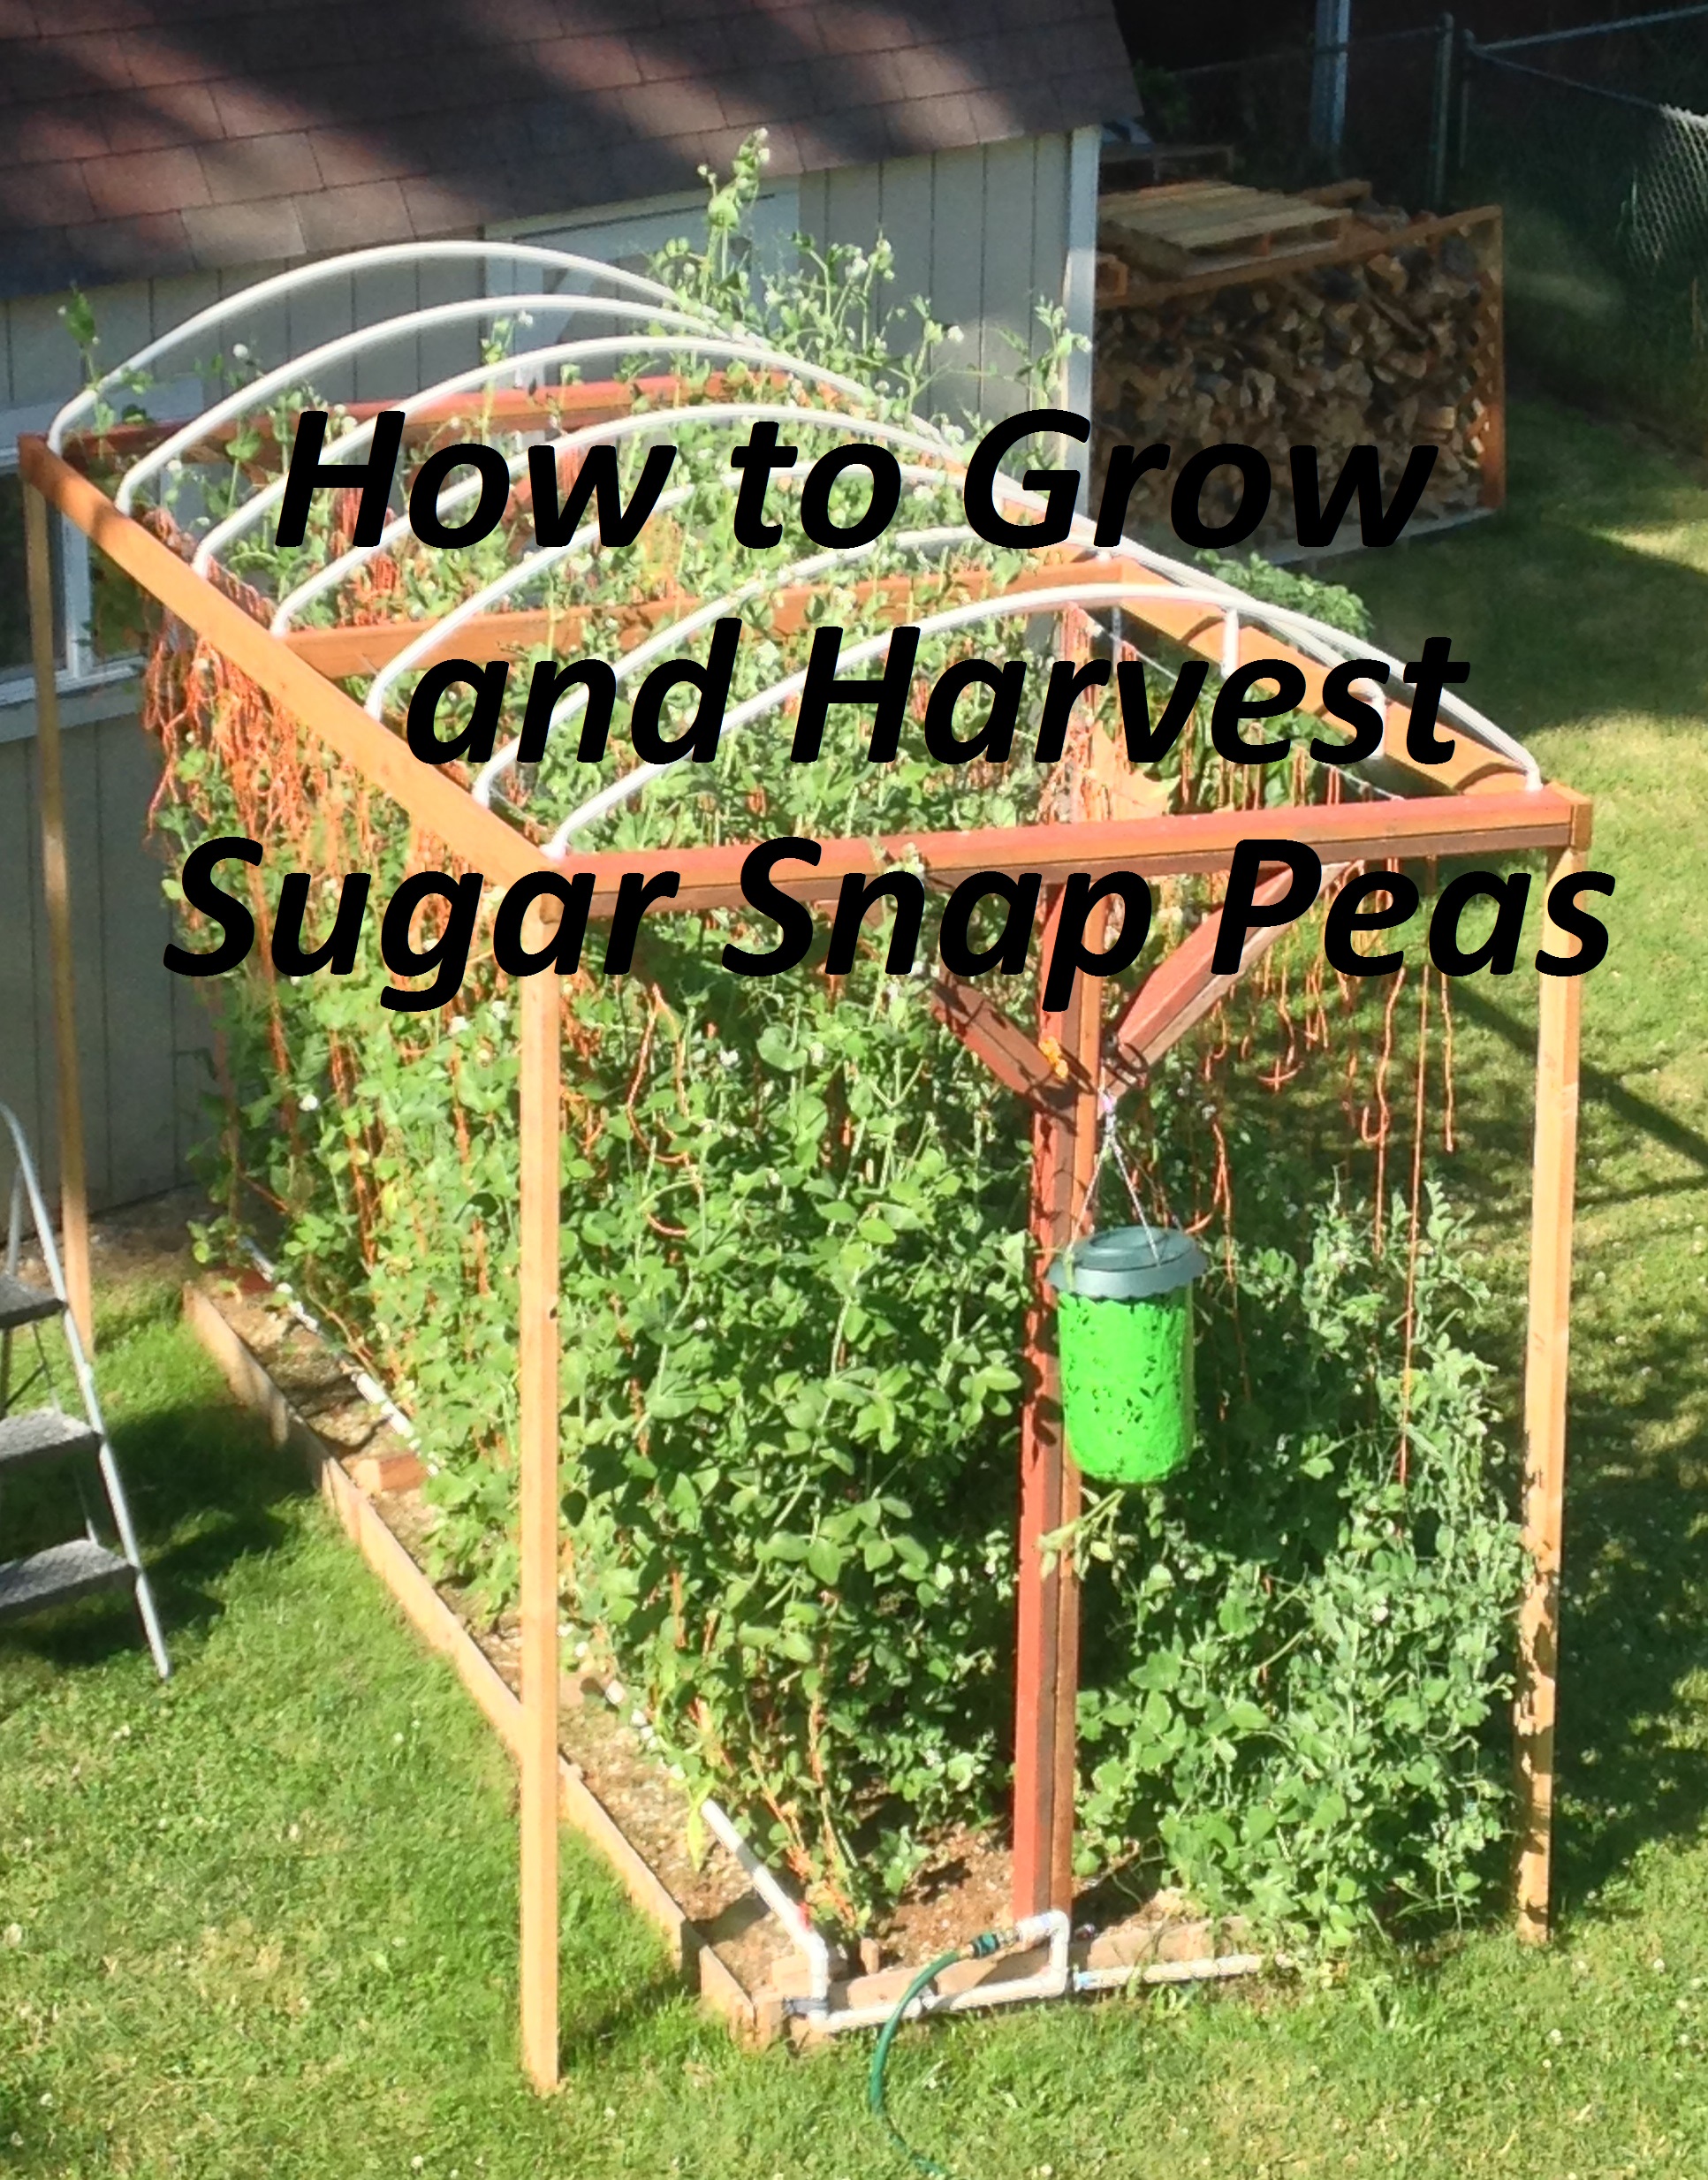
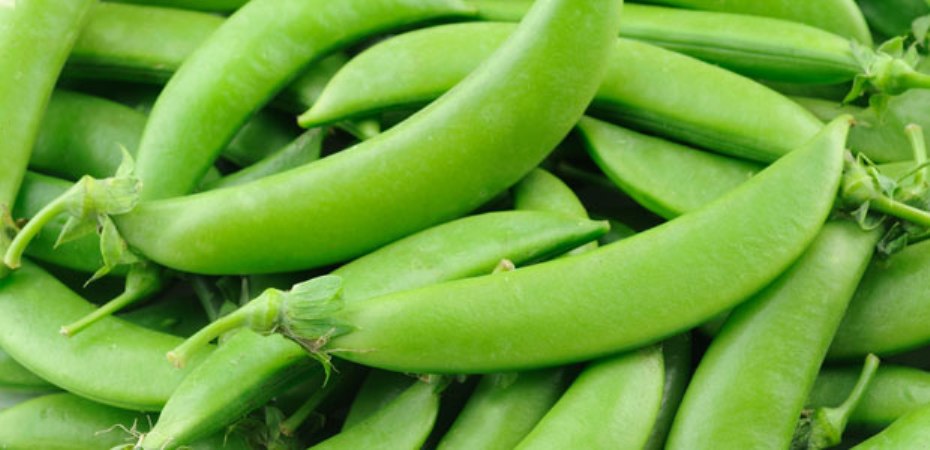


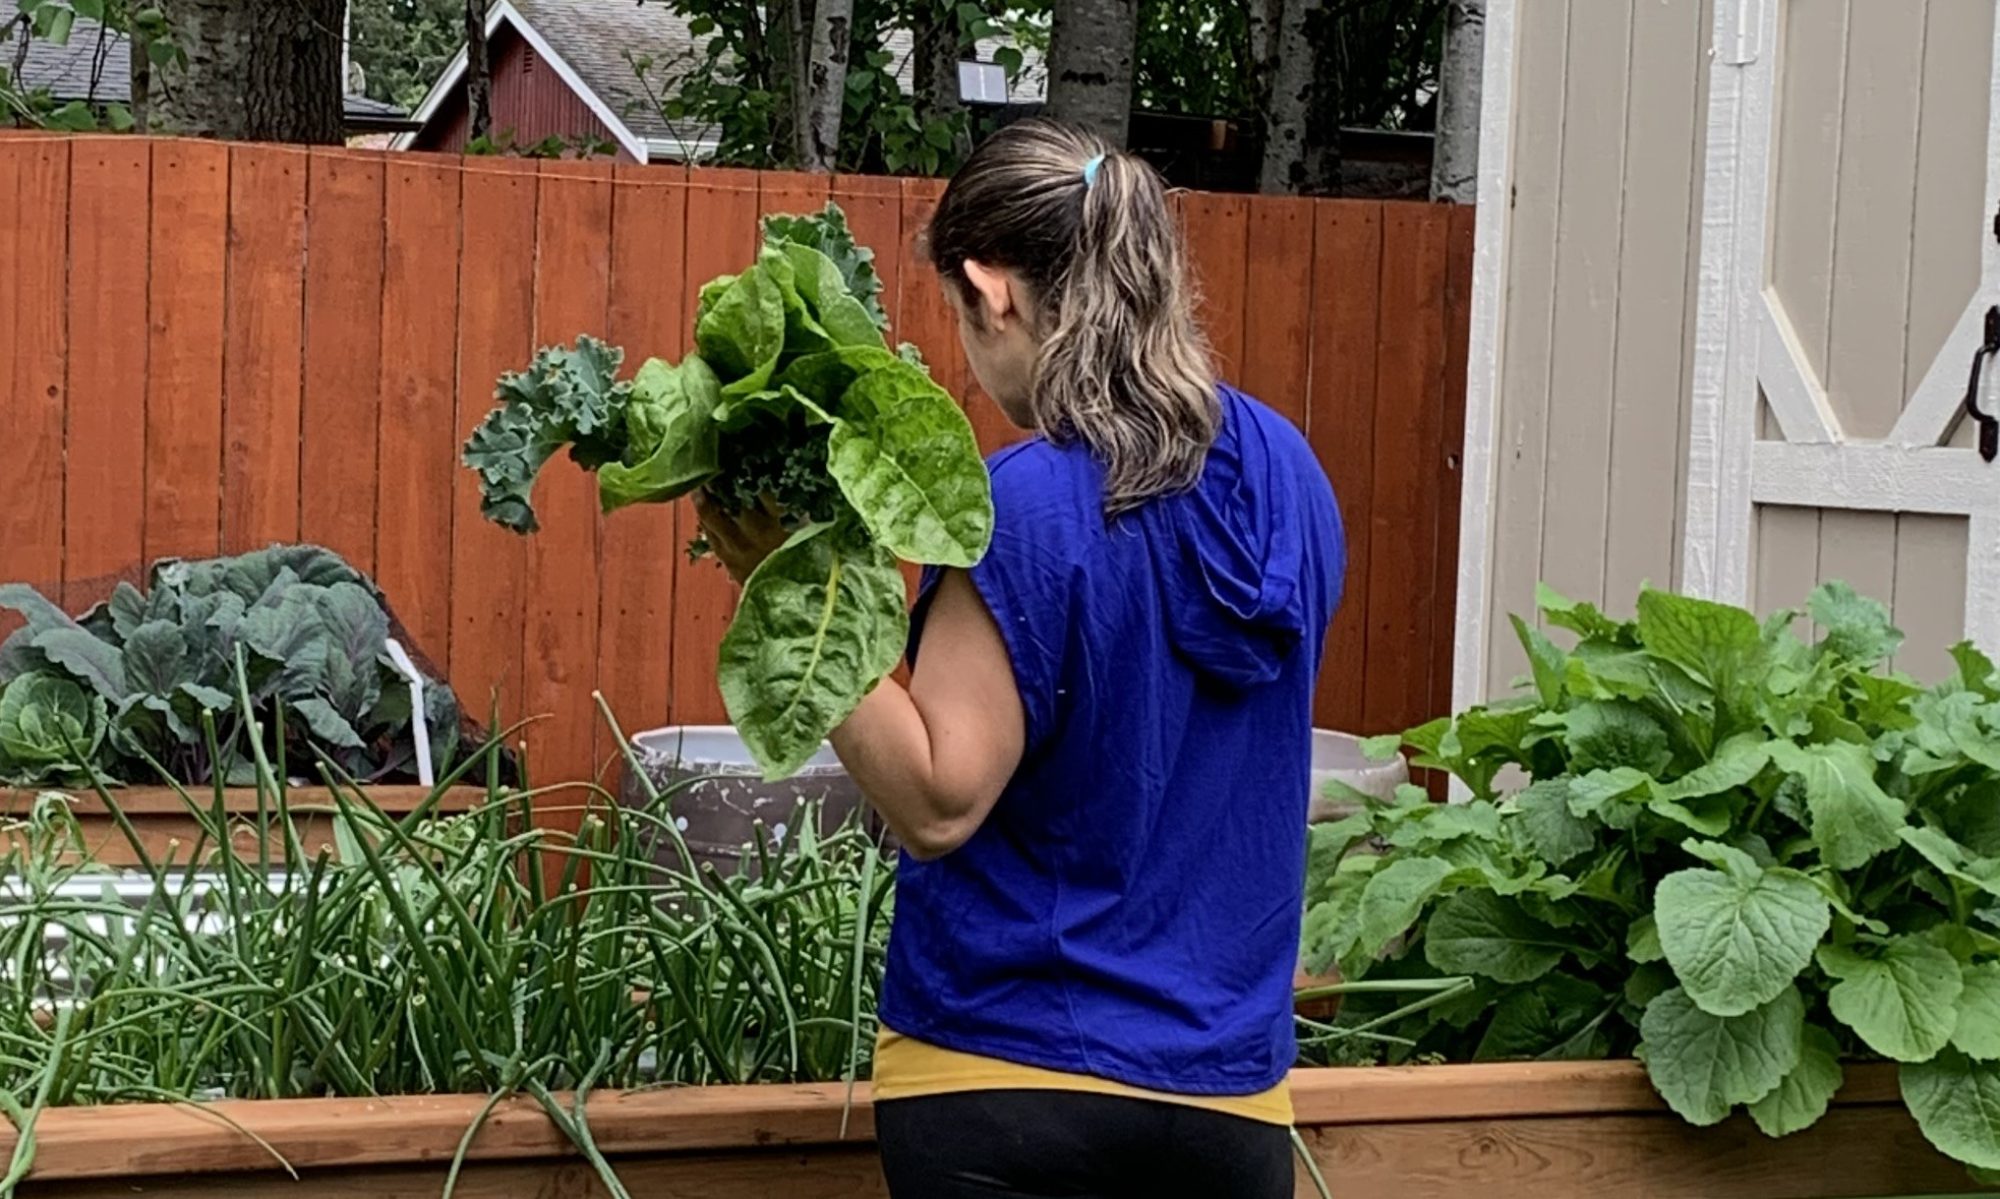
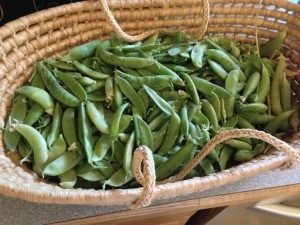 When Harvesting:
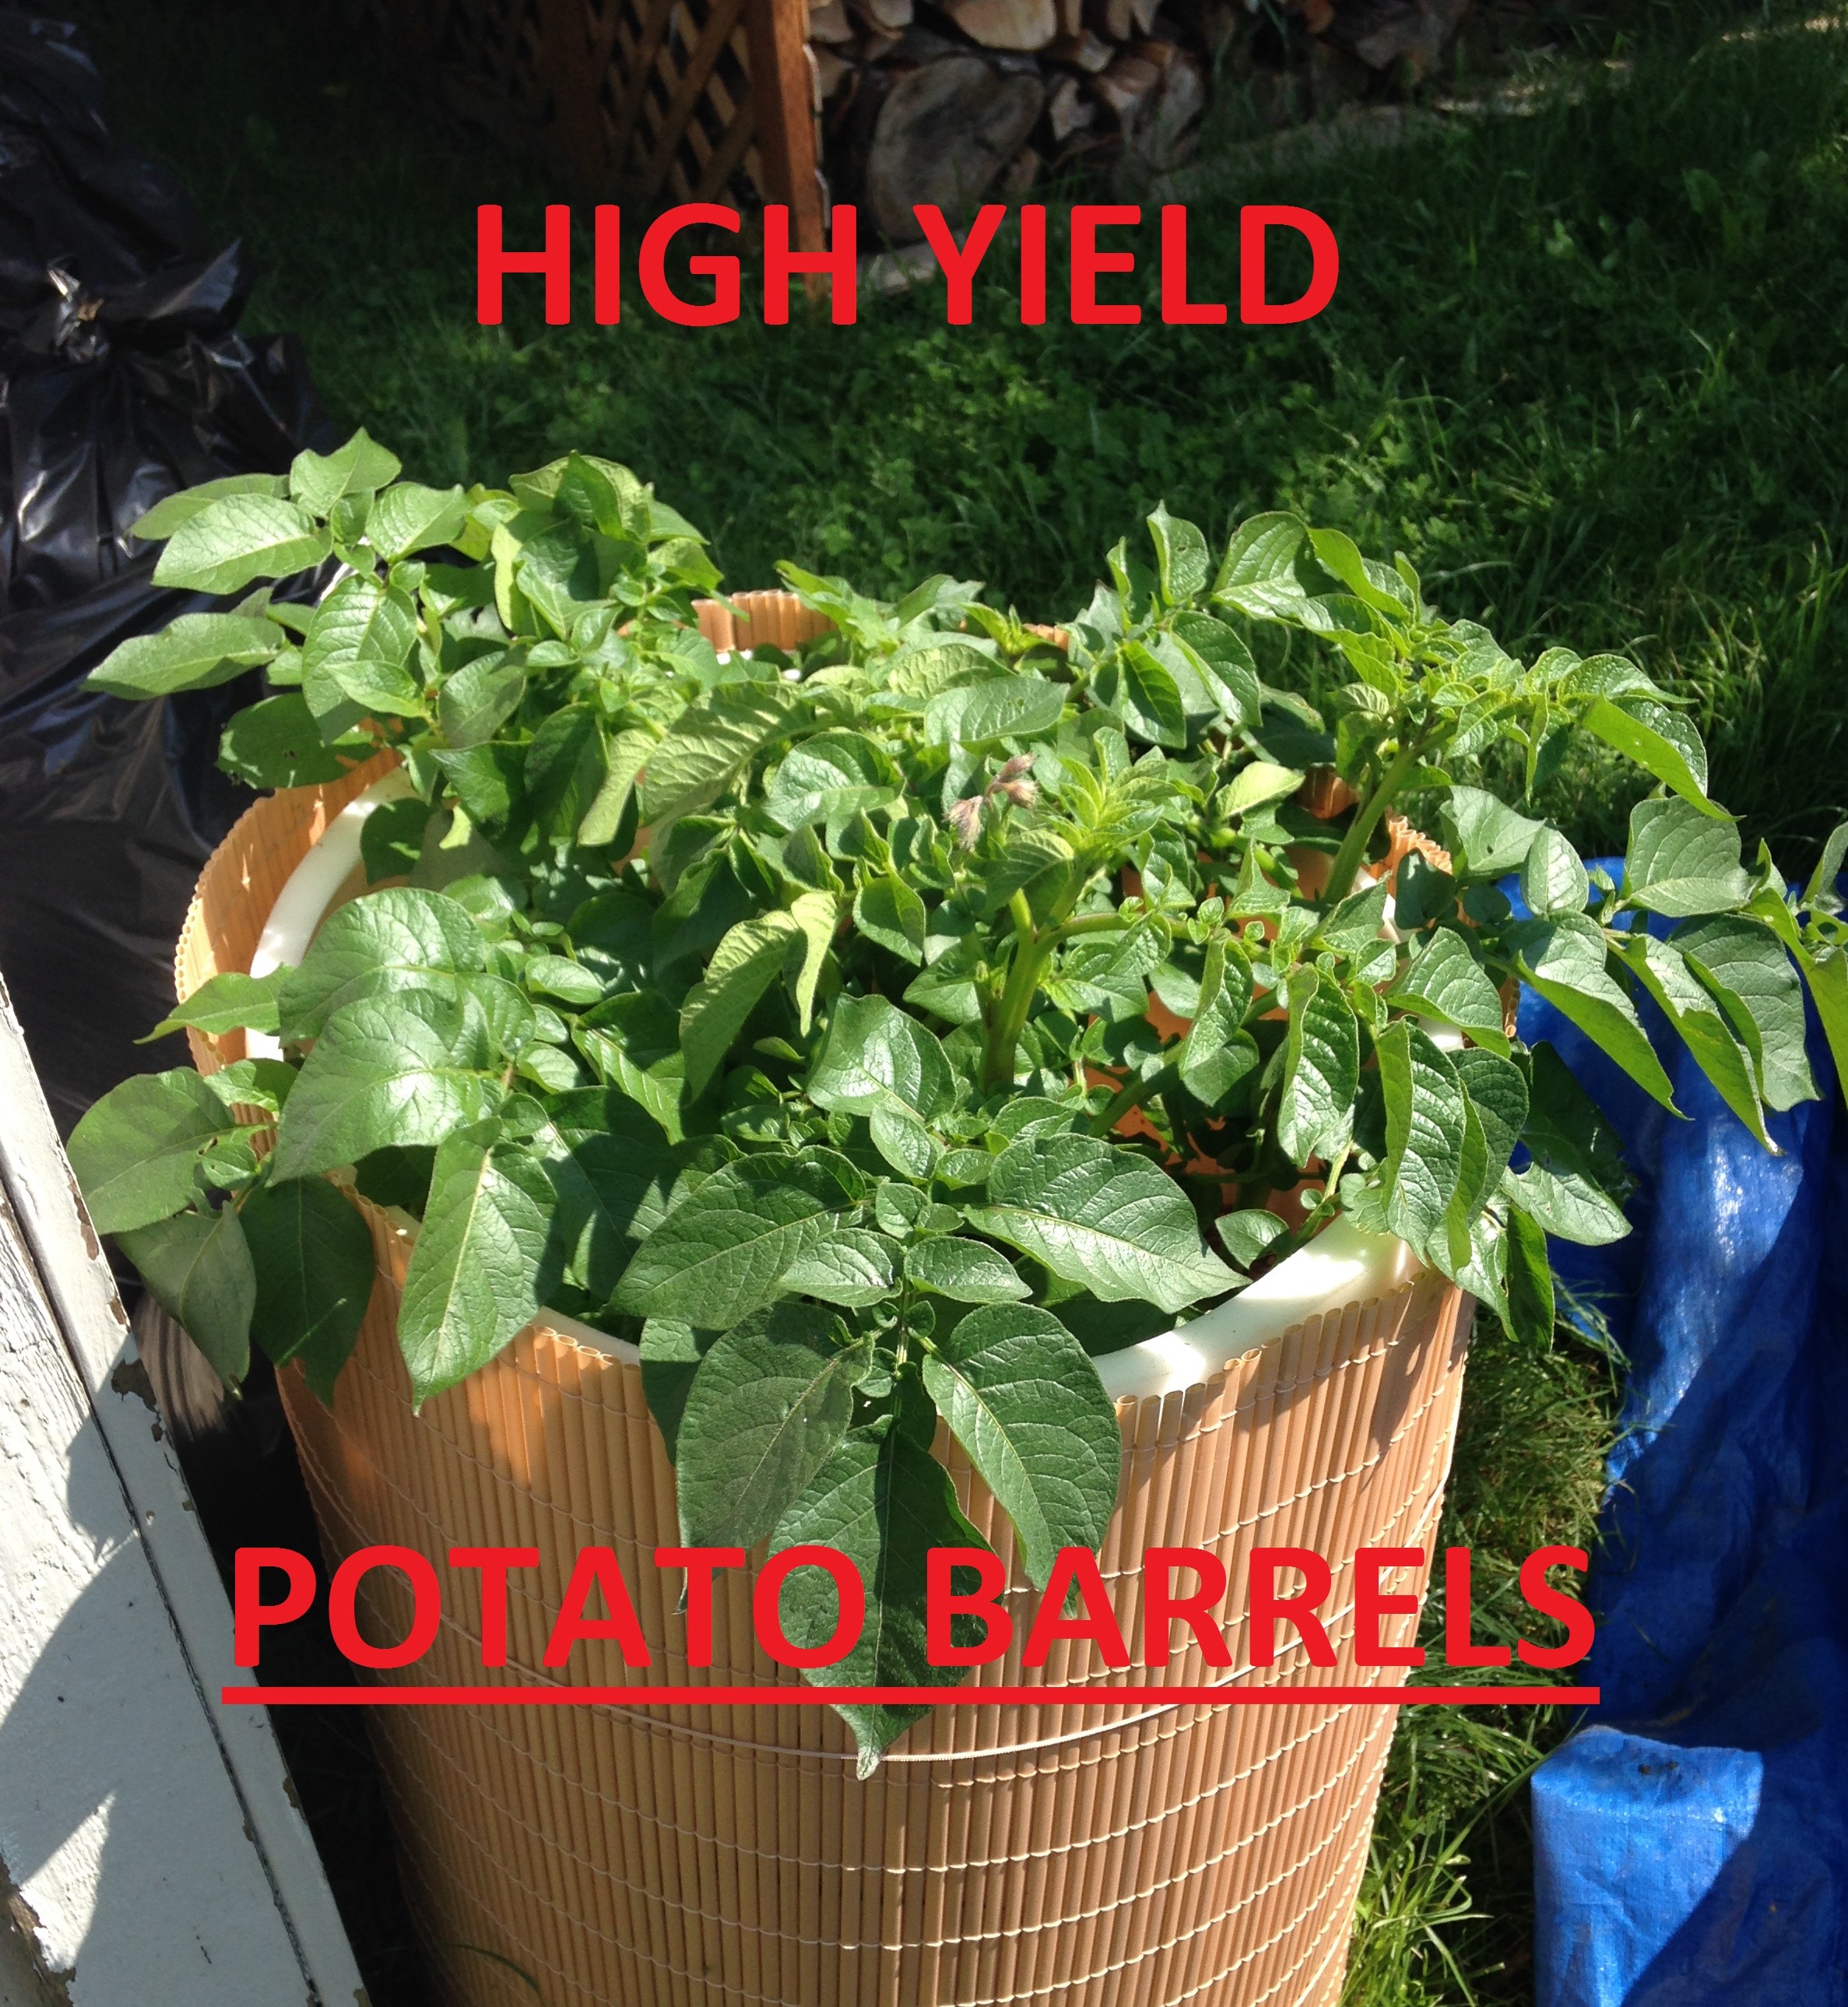

 “>
“> “>
“> “>
“> “>
“> “>
“>